
Cooking Lessons & Scotcheroos
As a parent, I have made—and continue to make—many mistakes.
One of the biggest? How I’ve handled teaching my children to cook.
Specifically: I haven’t taught them.
This runs counter to many values I hold dear, such as the importance of empowering people and the development of self-sufficiency. It’s the give a person a fish versus teach her how to fish thing. People are healthiest, in all senses of the word, when they have the skills and confidence to take care of themselves. And someone has to teach them these skills. I know this.
So why haven’t I started the process of teaching my kids to cook?
Because I can’t let go of my need for everything to be just right.
Ah! Pesky perfectionism strikes again!
I don’t want to live a life bound by my fears about things not being perfect, though. I certainly don’t want to model that for my children. My daughter often tells me, “It doesn’t have to be perfect, Mommy. It just has to taste good.”
Truth, out of the mouths of babes.
My son received a cookbook for Christmas from my best friend. Together, he and I have been slowly working our way through it. I say no to his request to make something from it more often than I’d like to admit. We’re short on time, or I don’t have the ingredients for what he wants to make on hand, or some other very reasonable reason.
What I have to remember is the look on his sweet face when I give him the opportunity to cook something. The satisfaction. The confidence. “Mommy! I made it!”
The feeling of being pleased with something you’ve crafted with your own hands is a powerful one. I’m trying, more and more, not to hoard that feeling.
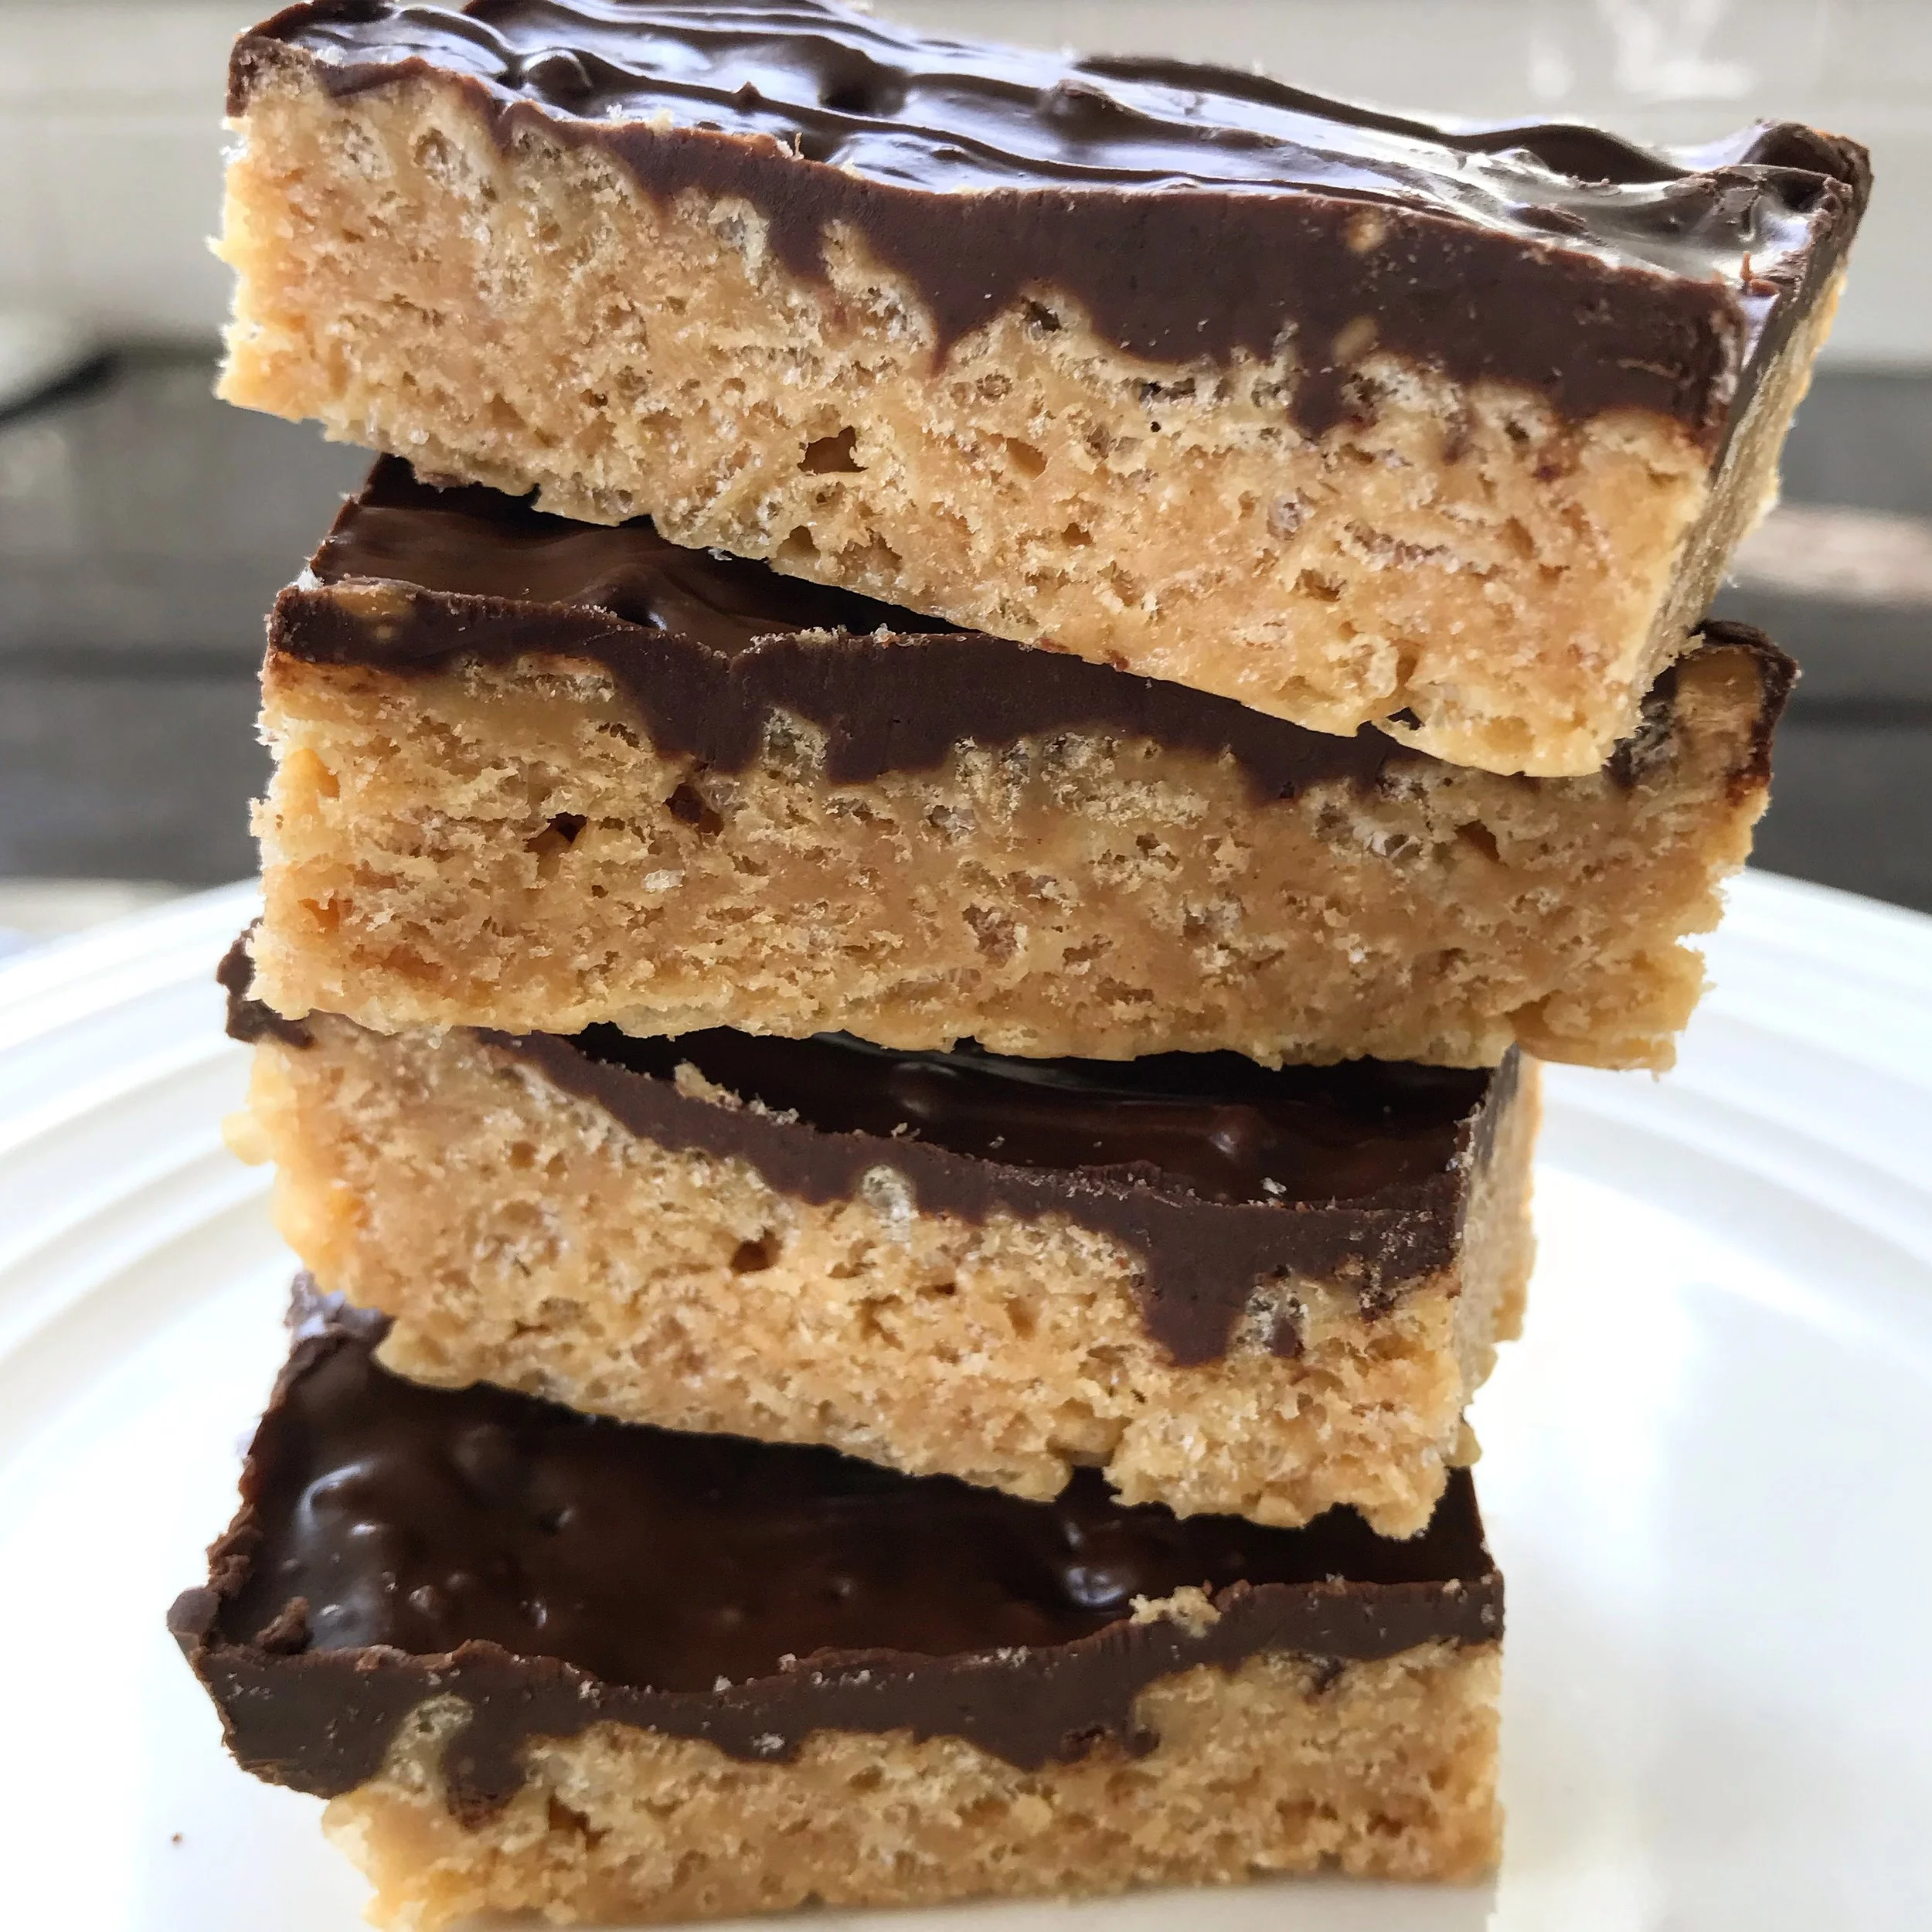
When I was in elementary school, I took a cooking class at our local community center. Did I ever love that class! I still remember the delicious layered bars we made: Rice Krispies, peanut butter, a chocolate frosting. They were called Scotcheroos.
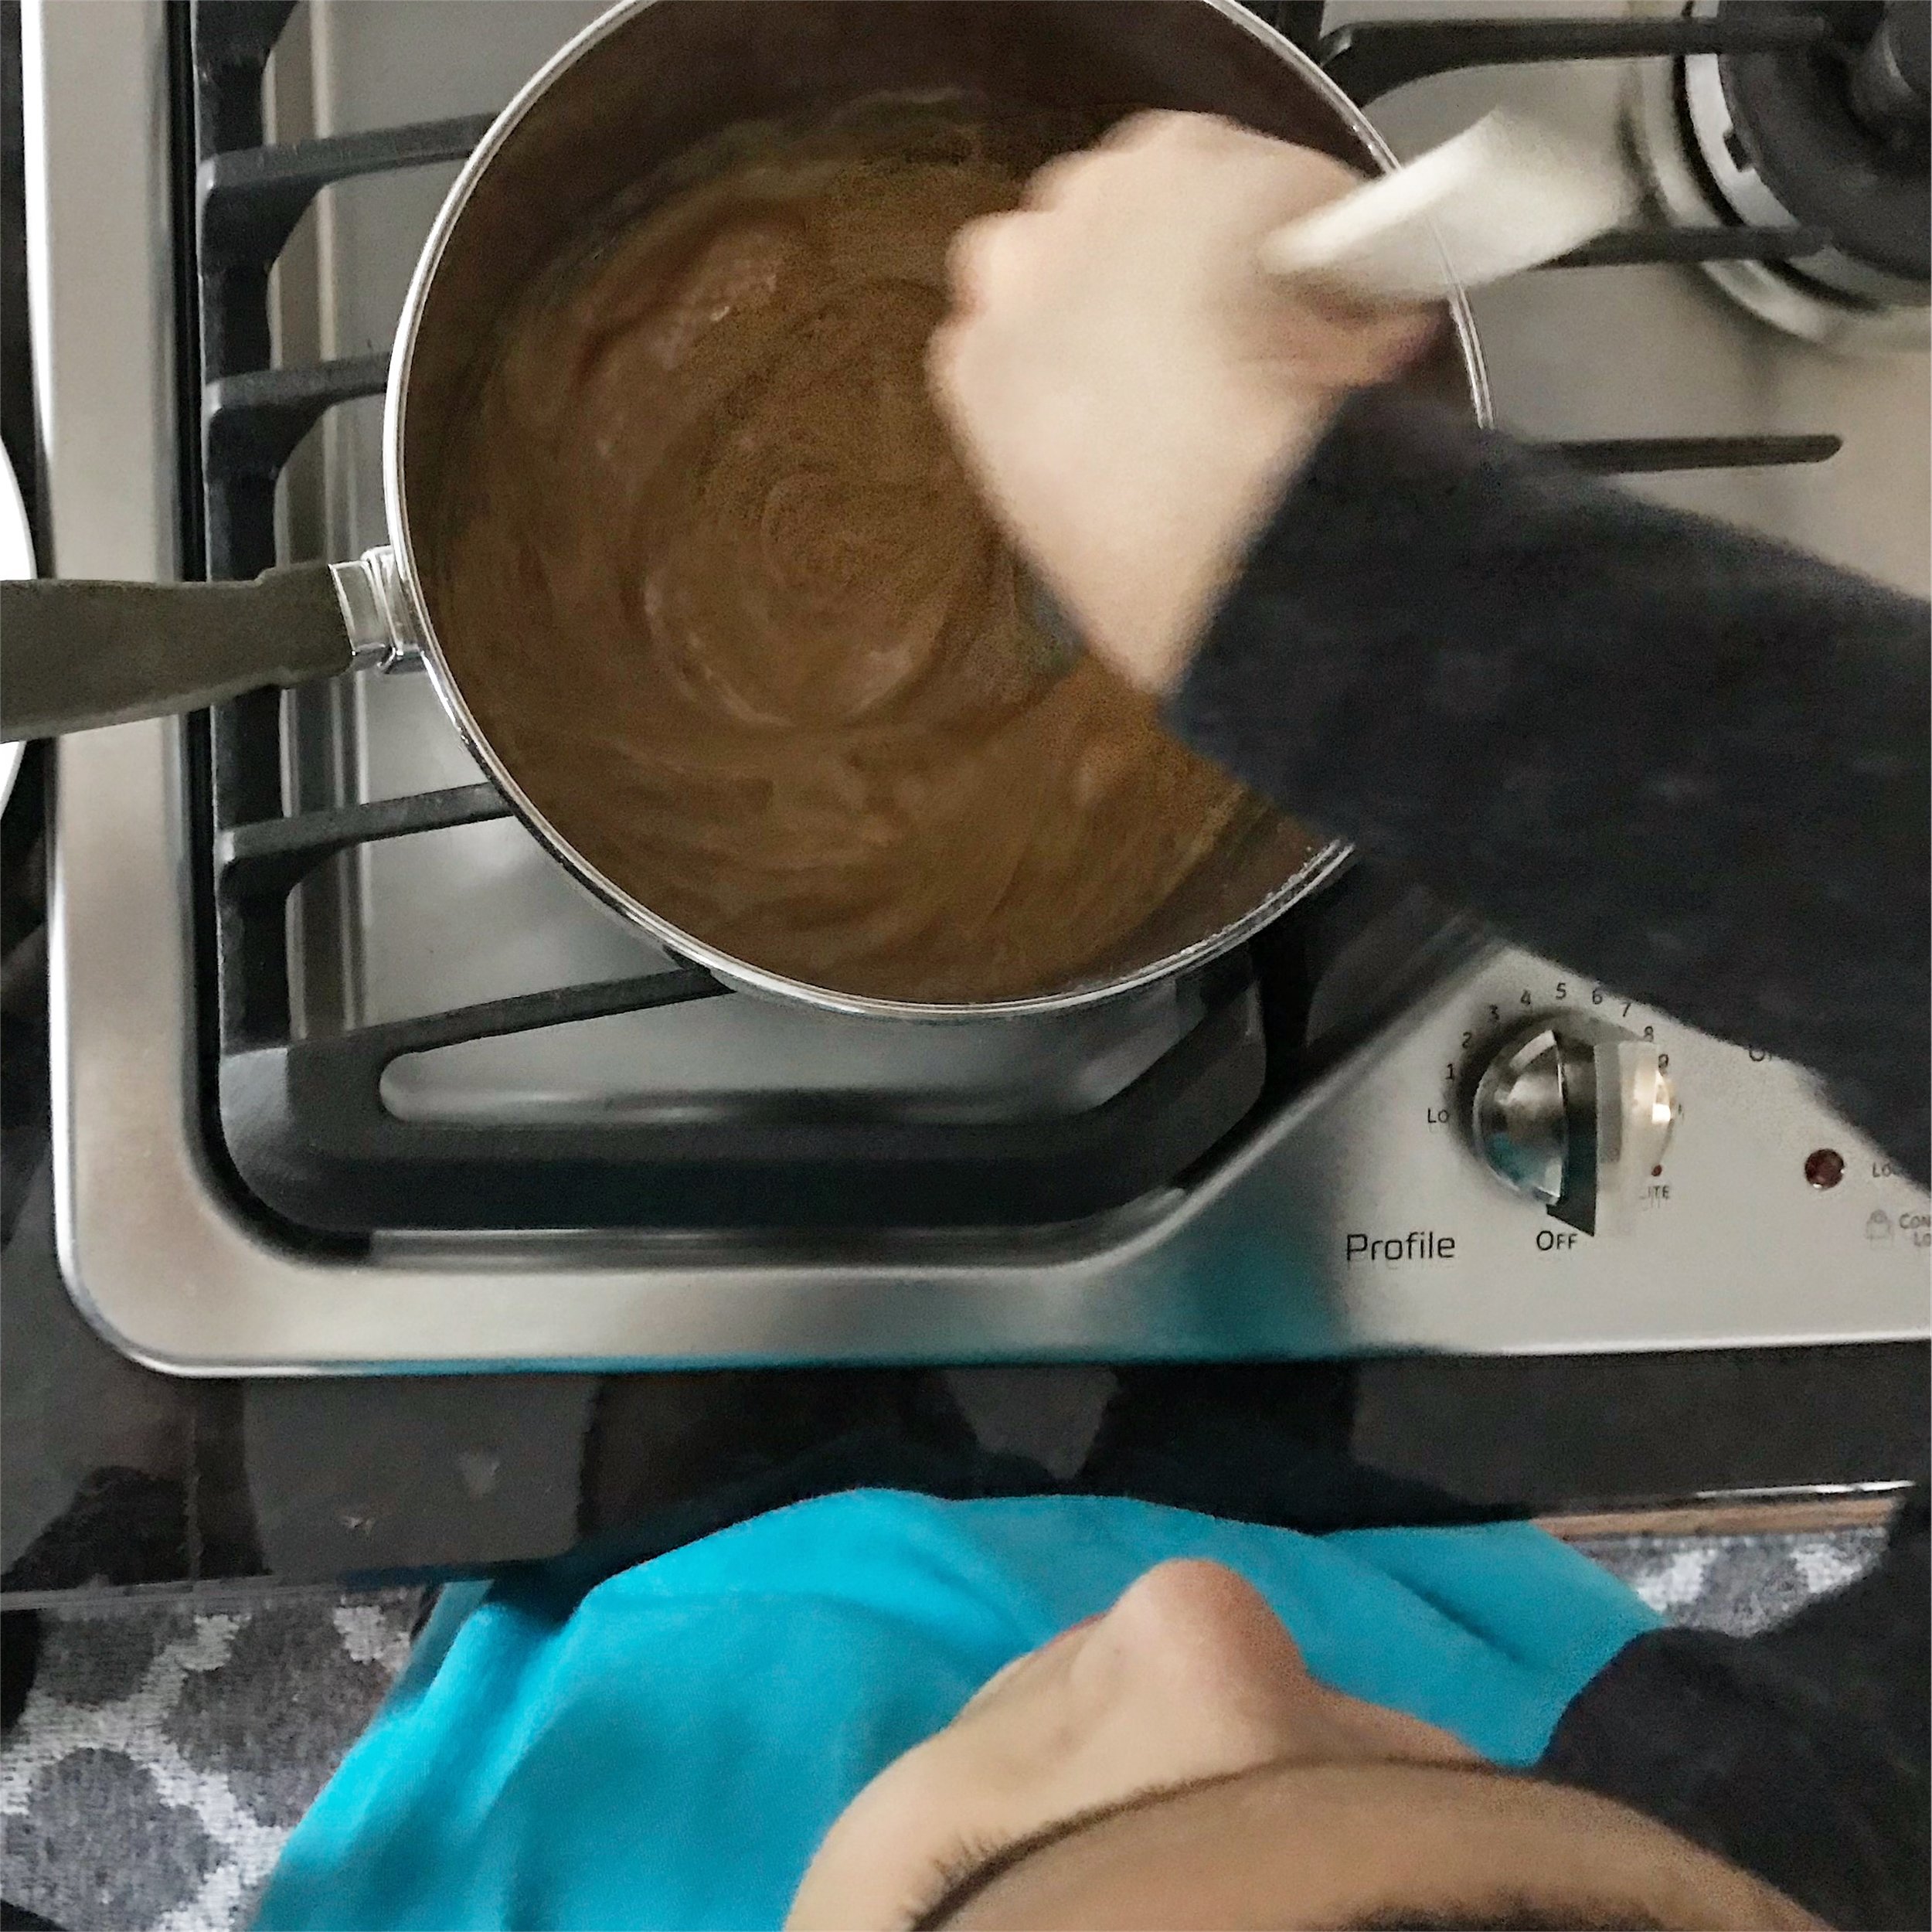
Recently, I asked my kids if they’d like to make Scotcheroos with me. I handled the potentially hazardous tasks, like stirring the hot sugar and corn syrup mixture on the stove. Honestly, my older child could have handled it. I found myself finishing off some of the steps they had started but not quite executed well, like stirring the chocolate topping until smooth. It would have been just fine if some bits of chocolate remained.
I’ve still got some learning to do.
Maybe we can learn together. Them, how to cook. Me, how to just make it taste good and let go.


Most recipes you’ll find for Scotcheroos are quite similar, with just some small variations in the amount of ingredients. One thing they almost all have in common: they make a 9x13 pan, which is a boatload of bars. I halved the traditional recipe to make a more manageable amount of dessert for our family. I also reduced the amount of cereal from the original recipe to help make the bars a bit more chewy and less dense. Note that you should remove the sugar mixture from the heat right after it comes to a boil; overcooking it can make the finished bars unpleasantly hard. But you know, if they too turn out a bit hard? It'll be OK.
Scotcheroos
Adapted from Chocolate Scotcheroos
Ingredients:
1/2 cup light corn syrup
1/2 cup granulated sugar
1/2 cup creamy peanut butter (I used Skippy)
2-1/2 cups crispy rice cereal (I used Rice Krispies)
1/2 cup semi-sweet chocolate chips
1/2 cup butterscotch chips
Directions:
Spray a 8x8 or 9x9 pan with cooking spray. Set aside.
Place corn syrup and sugar in a medium, heavy saucepan over medium heat. Cook and stir often for about 5 minutes, or until mixture just comes to a boil and sugar has dissolved. Immediately remove from heat and carefully stir in peanut butter. Add cereal and stir again until thoroughly combined. Spoon mixture into prepared pan and spread with a rubber spatula. Using a piece of wax paper or parchment paper, press the mixture firmly until it has covered the pan and is a uniform(ish) height. Set aside.
Place the chocolate chips and butterscotch chips in a microwave safe bowl. Heat in the microwave in 30 second intervals, stirring well between each heating, until completely melted and smooth (this took about 90 seconds in our microwave). Immediately spread the melted chocolate mix over the top of the pressed bars in the pan. Allow chocolate layer to set completely, a few hours, before cutting (you can put them in the fridge to speed it along). Or go ahead and eat, enjoying the sight of happy chocolate-smeared faces and hands. Store at room temperature. Yield: an 8x8 or 9x9 pan of however many bars you'd like. We cut ours into 15 good-sized bars.