
Browned Butter Frosting

Yesterday, I shared the recipe for a truly excellent carrot cake, Best Friends Cake. Today, I’m sharing what I think makes the cake phenomenally delicious: Browned Butter Frosting.
Many people consider cream cheese frosting to be the only appropriate frosting for carrot cake. But when I baked for sale a few years ago, I found myself in a frosting situation. According to the rules I had to follow as a registered cottage food producer, I could not sell items with dairy products in the frosting except for butter. No milk or cream. Certainly, no cream cheese.
Uh-oh.
I still really wanted to sell this carrot cake. I went back to my friend Jennifer, the one who had given me the recipe, and asked her to help me brainstorm. What kind of frosting could I substitute for cream cheese that would do justice to this awesome cake?
“What about a browned butter frosting?,” she suggested.
Jennifer is brilliant. This was the answer.
Anything made with browned butter leaves the taster wondering, “What is that flavor?” It lends a complex toastiness and richness that is mouth-watering. Used as the base of a sweet frosting, it perfectly plays off the cinnamon in the cake and highlights the earthiness of the carrots.
It’s a powerfully flavored frosting. So much so, that I wondered that if frosting an entire cake with it might be overkill. I personally love as much frosting as possible but not everyone does. How could I frost this cake beautifully but also make sure that the carrot cake flavors would shine through?
Enter the naked cake technique.
Another friend, Katie, introduced me to this idea when she asked me to bake a birthday cake for her sweet little girl who isn’t a fan of frosting. Katie wanted a cake that had frosting between the layers but no frosting on the sides. After googling and Pinteresting “naked cake” (and being slightly traumatized by the non-relevant results), I realized that the naked cake technique might also be the answer for the carrot cake. It’s also easier than frosting an entire cake, is hard to mess up, and gives you a gorgeous cake that looks like a piece of art.
(Relatively) easy + (very) tasty + (strikingly) pretty = a trifecta of food goals.
I adapted this recipe from my favorite source for frosting recipes: Chocolate from the Cake Mix Doctor. My friends Dave and Michelle, known for making fantastic liquor-soaked cakes, gave me this cookbook when I moved from Atlanta to Minnesota. It turns out this was one of the secrets to their fantastic cakes! I’ve never made a cake recipe from it, but I turn to it again and again for the frosting recipes. Once I stopped baking for sale, I started making this recipe with milk as the liquid. The milk produces a frosting that’s a bit creamier and softer than water yields. If you’d like to use water in place of milk, know that the frosting might crust more quickly; you might also need to add an extra tablespoon of water to achieve the right consistency. Browning butter is not a difficult or time-intensive process, especially after you've tried it once. But it does require careful attention. So don't walk away from the stove! Eyes like a hawk on that butter! Make sure to scroll through to the end of this post for step-by-step photos of how to employ the naked cake technique.
Update: I’ve re-tested this recipe with a bit more than half the amount of sugar (about 2 - 2/3 cups total) and it was dynamite. This will reduce your yield some, so you may want to increase your batch size if you’re concerned about quantity. If reducing the sugar, I’d also reduce the amount of liquid to achieve the right consistency; try using 3 tablespoons of milk. I’ve also taken to making it with cream instead of milk and this was a good life choice. You should too.
Browned Butter Frosting
Adapted from Vanilla Buttercream Frosting
Ingredients:
12 tablespoons unsalted butter (1 - 1/2 sticks)
4-1/2 cups powdered sugar, sifted, plus more if needed
1 tablespoon vanilla extract
5 - 6 tablespoons milk (I use whole milk)
Directions:
Place butter in a medium, heavy-bottomed saucepan over medium heat. Swirl the pan occasionally as the butter melts, then foams, then begins to bubble vigorously. Once it begins bubbling, swirl more frequently so that you can check the color at the bottom of the pan. You can also drag a spoon through it to check the color. Heat until the butter has a nutty aroma and has turned a medium golden-brown color with darker brown (but not black) flecks; the whole heating process will take about 5 minutes. Immediately pour the butter into a separate bowl, making sure to pour the darker brown flecks in as well. Allow butter to cool until it is room temperature and has a paste-like consistency, about an hour. You can speed the cooling along by putting the butter in the fridge and stirring occasionally.
When butter has cooled, place it in the large bowl of a mixer. Add 1 cup of the sifted sugar and the vanilla. Mix on low until well combined, about 1 minute, stopping to scrape the bowl if needed. Add 1 cup of the remaining sugar and mix on low until combined, about 30 seconds. Add 1 tablespoon of milk and again mix on low until combined, 30 seconds. Repeat with the remaining sugar and milk, adding two tablespoons of milk with the last addition. Scrape the bowl well. Increase the mixer speed to medium high and beat until the frosting is light and fluffy, and it does not fall off the beater when the beater is raised. If the frosting seems a bit too stiff and dry, add the additional tablespoon of milk. If it seems too loose, add powdered sugar a tablespoon at a time until it’s the consistency you’d like. Store the frosting in the refrigerator but allow to come to room temperature before using. Yield: a heaping 2 - 1/2 cups, enough to frost a 2 layer cake using the naked cake technique.

Step #1 of browning butter: Melt it over medium heat. I find it goes a bit quicker if I divide the butter into smaller pieces.

Step #2: Let the butter foam. Swirl every so often.

Step #3: Let the butter bubble (say that three times fast!). Start swirling a bit more often. Browned bits will start to form around the edges of the pan.

Step #4: Once the butter starts smelling toasty and awesome, the color of the butter is golden brown, and there are deeper brown bits of color, carefully pour your browned butter into a separate bowl to cool.

Step #5: Let your butter cool until it has solidified into a paste-like texture. It'll be grainier than regular softened butter and have some really lovely flecks of brown in it. Make sure to scrape all of these flecks into your mixing bowl when making the frosting.
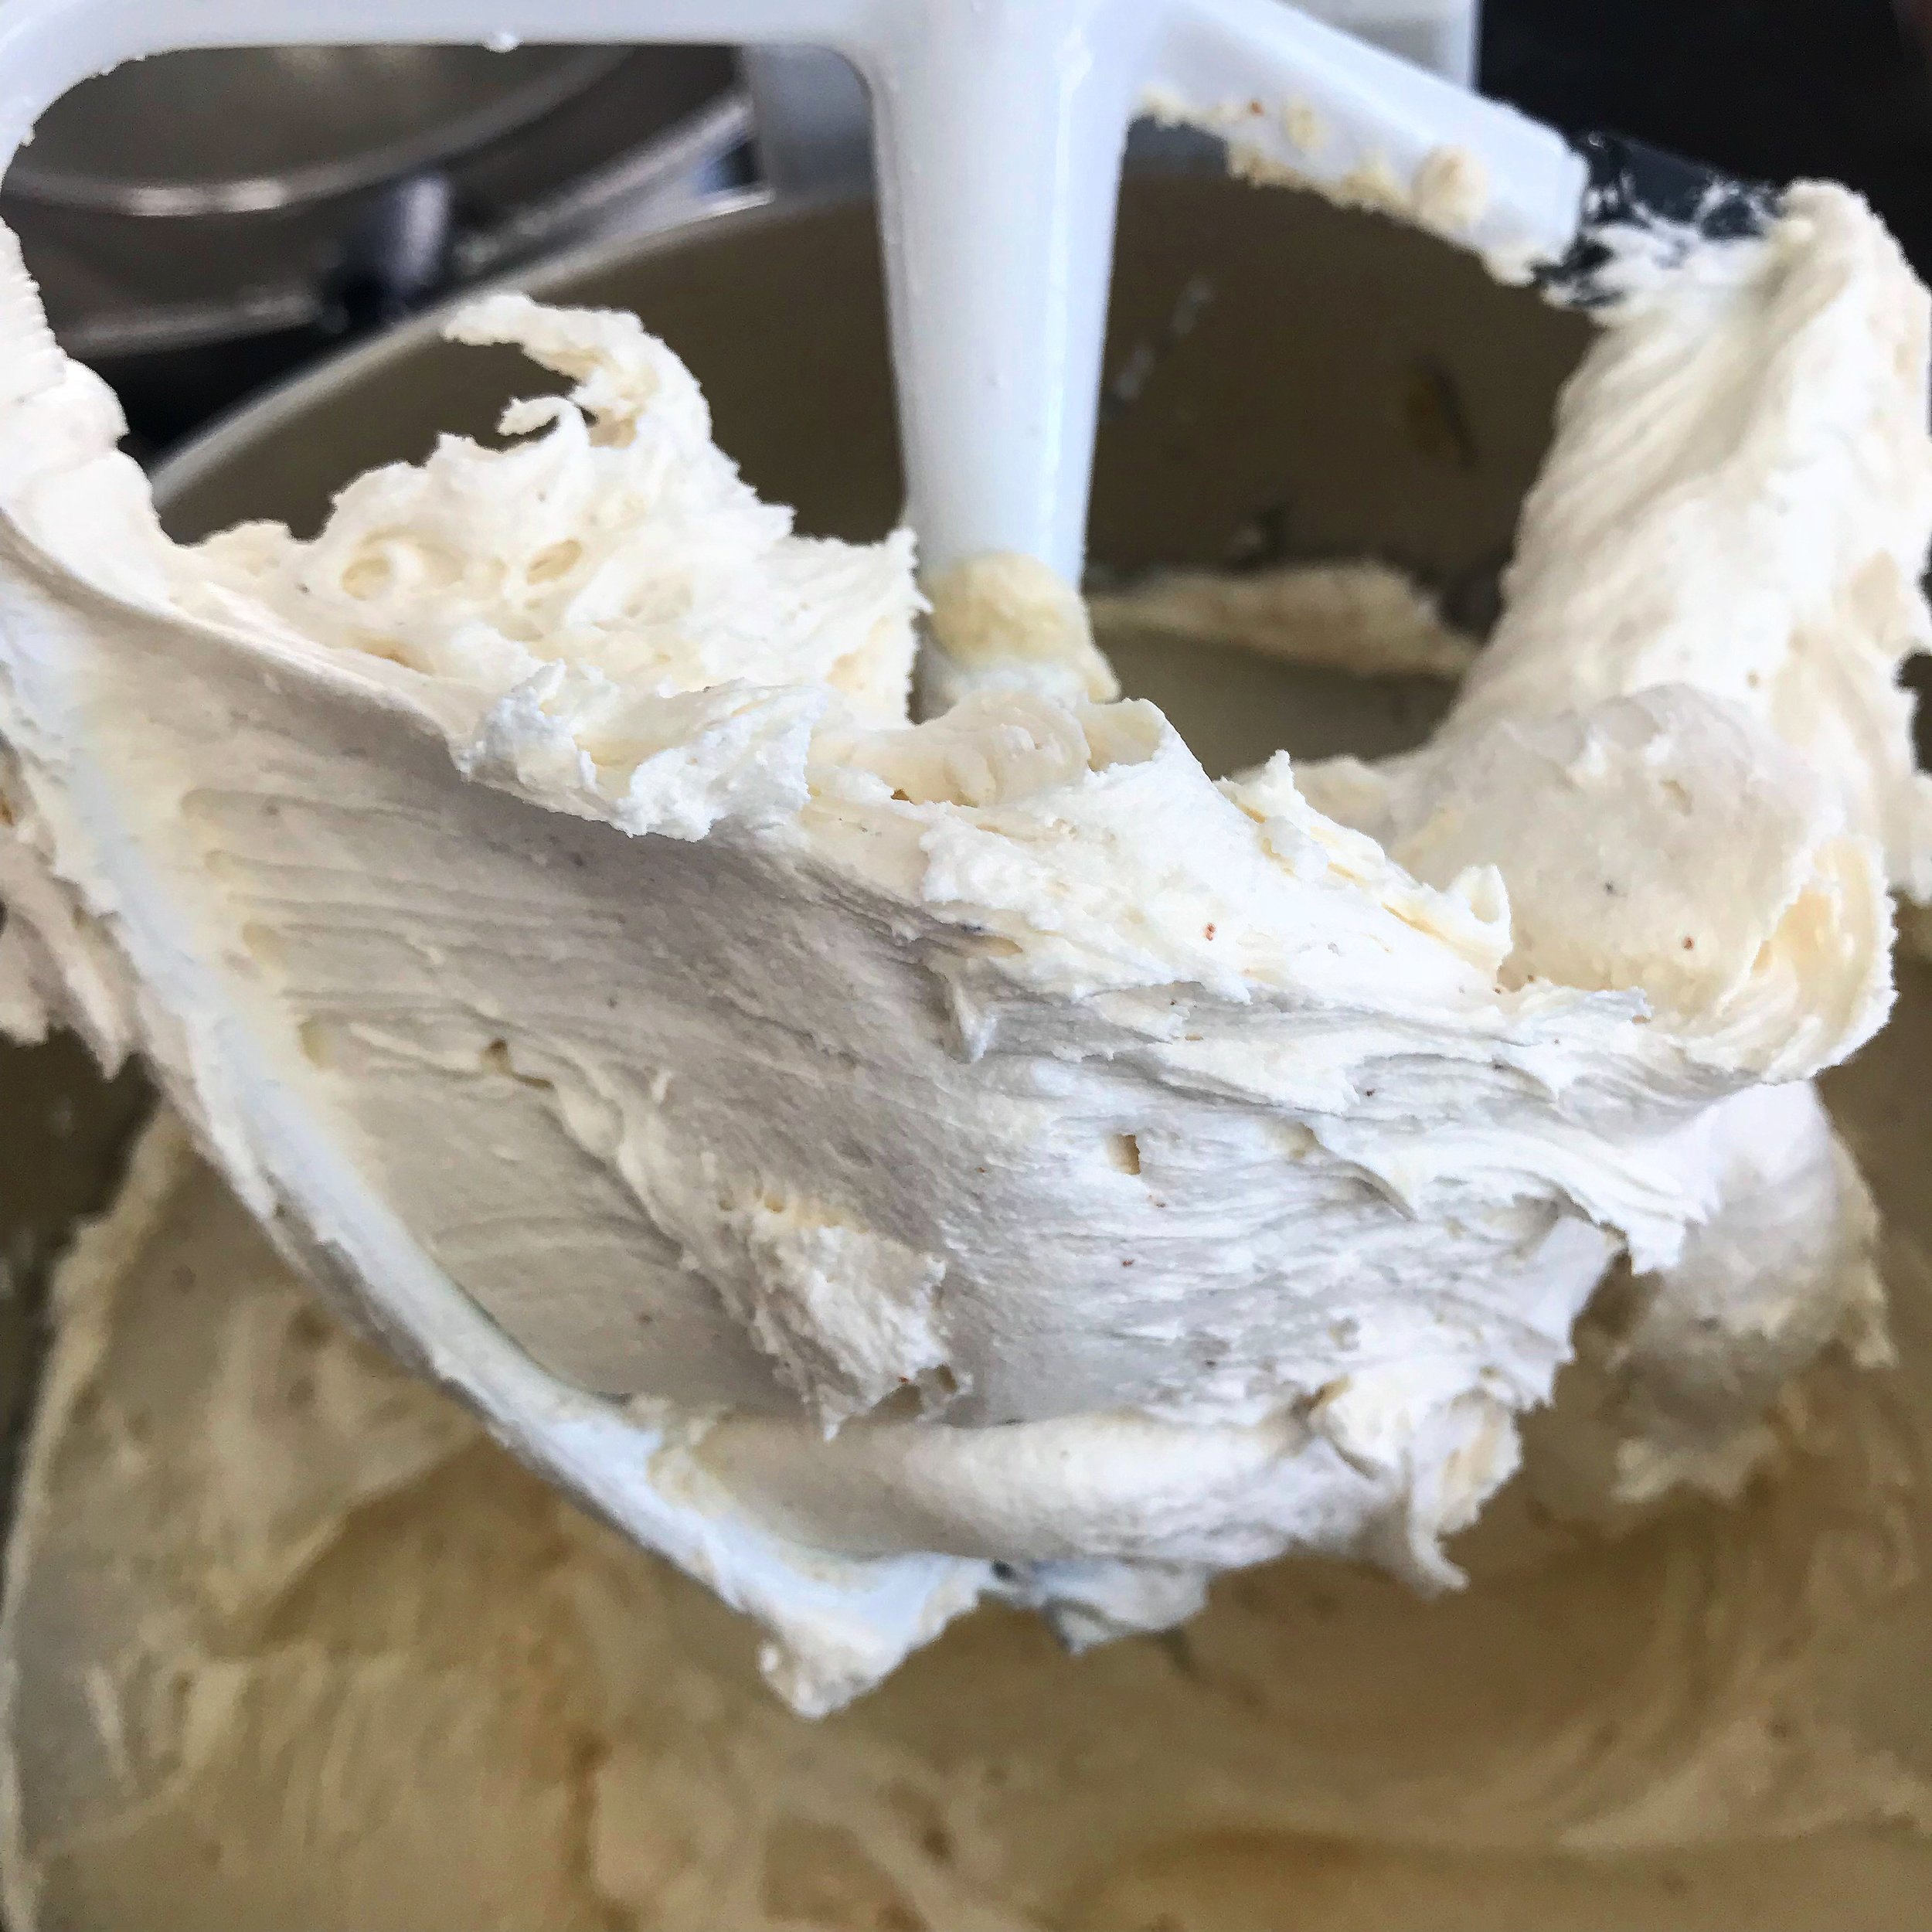
Step #6: Whip that beautiful browned butter with powdered sugar, milk, and vanilla into a heavenly frosting. In addition to Best Friends Cake, it's great on plain vanilla cake too.
How to Frost a Naked Cake
The technique I'm showing you here is the slightly more complicated version of the naked cake technique. It requires a few special tools: a lazy susan or turntable, a cake round so you can easily transfer your cake from the turntable to your serving platter, a metal frosting spatula, and a bench scraper. I like this version of the technique because it covers up any tearing or imperfections in the sides of your cake. Plus, I really like the messy, arty final look of the cake. That swirl is my signature cake look!
If you don't have these tools and want to keep it super simple, here's what to do:
Place one cake layer on your serving platter.
Scoop about half of your frosting onto the layer. Carefully spread it with whatever spreading tool you have around, trying to not get too much frosting hanging out the sides.
Place your second cake layer on top.
Repeat steps 2 and 3 for your top layer.
Dig in!
Ready for the more complicated version?
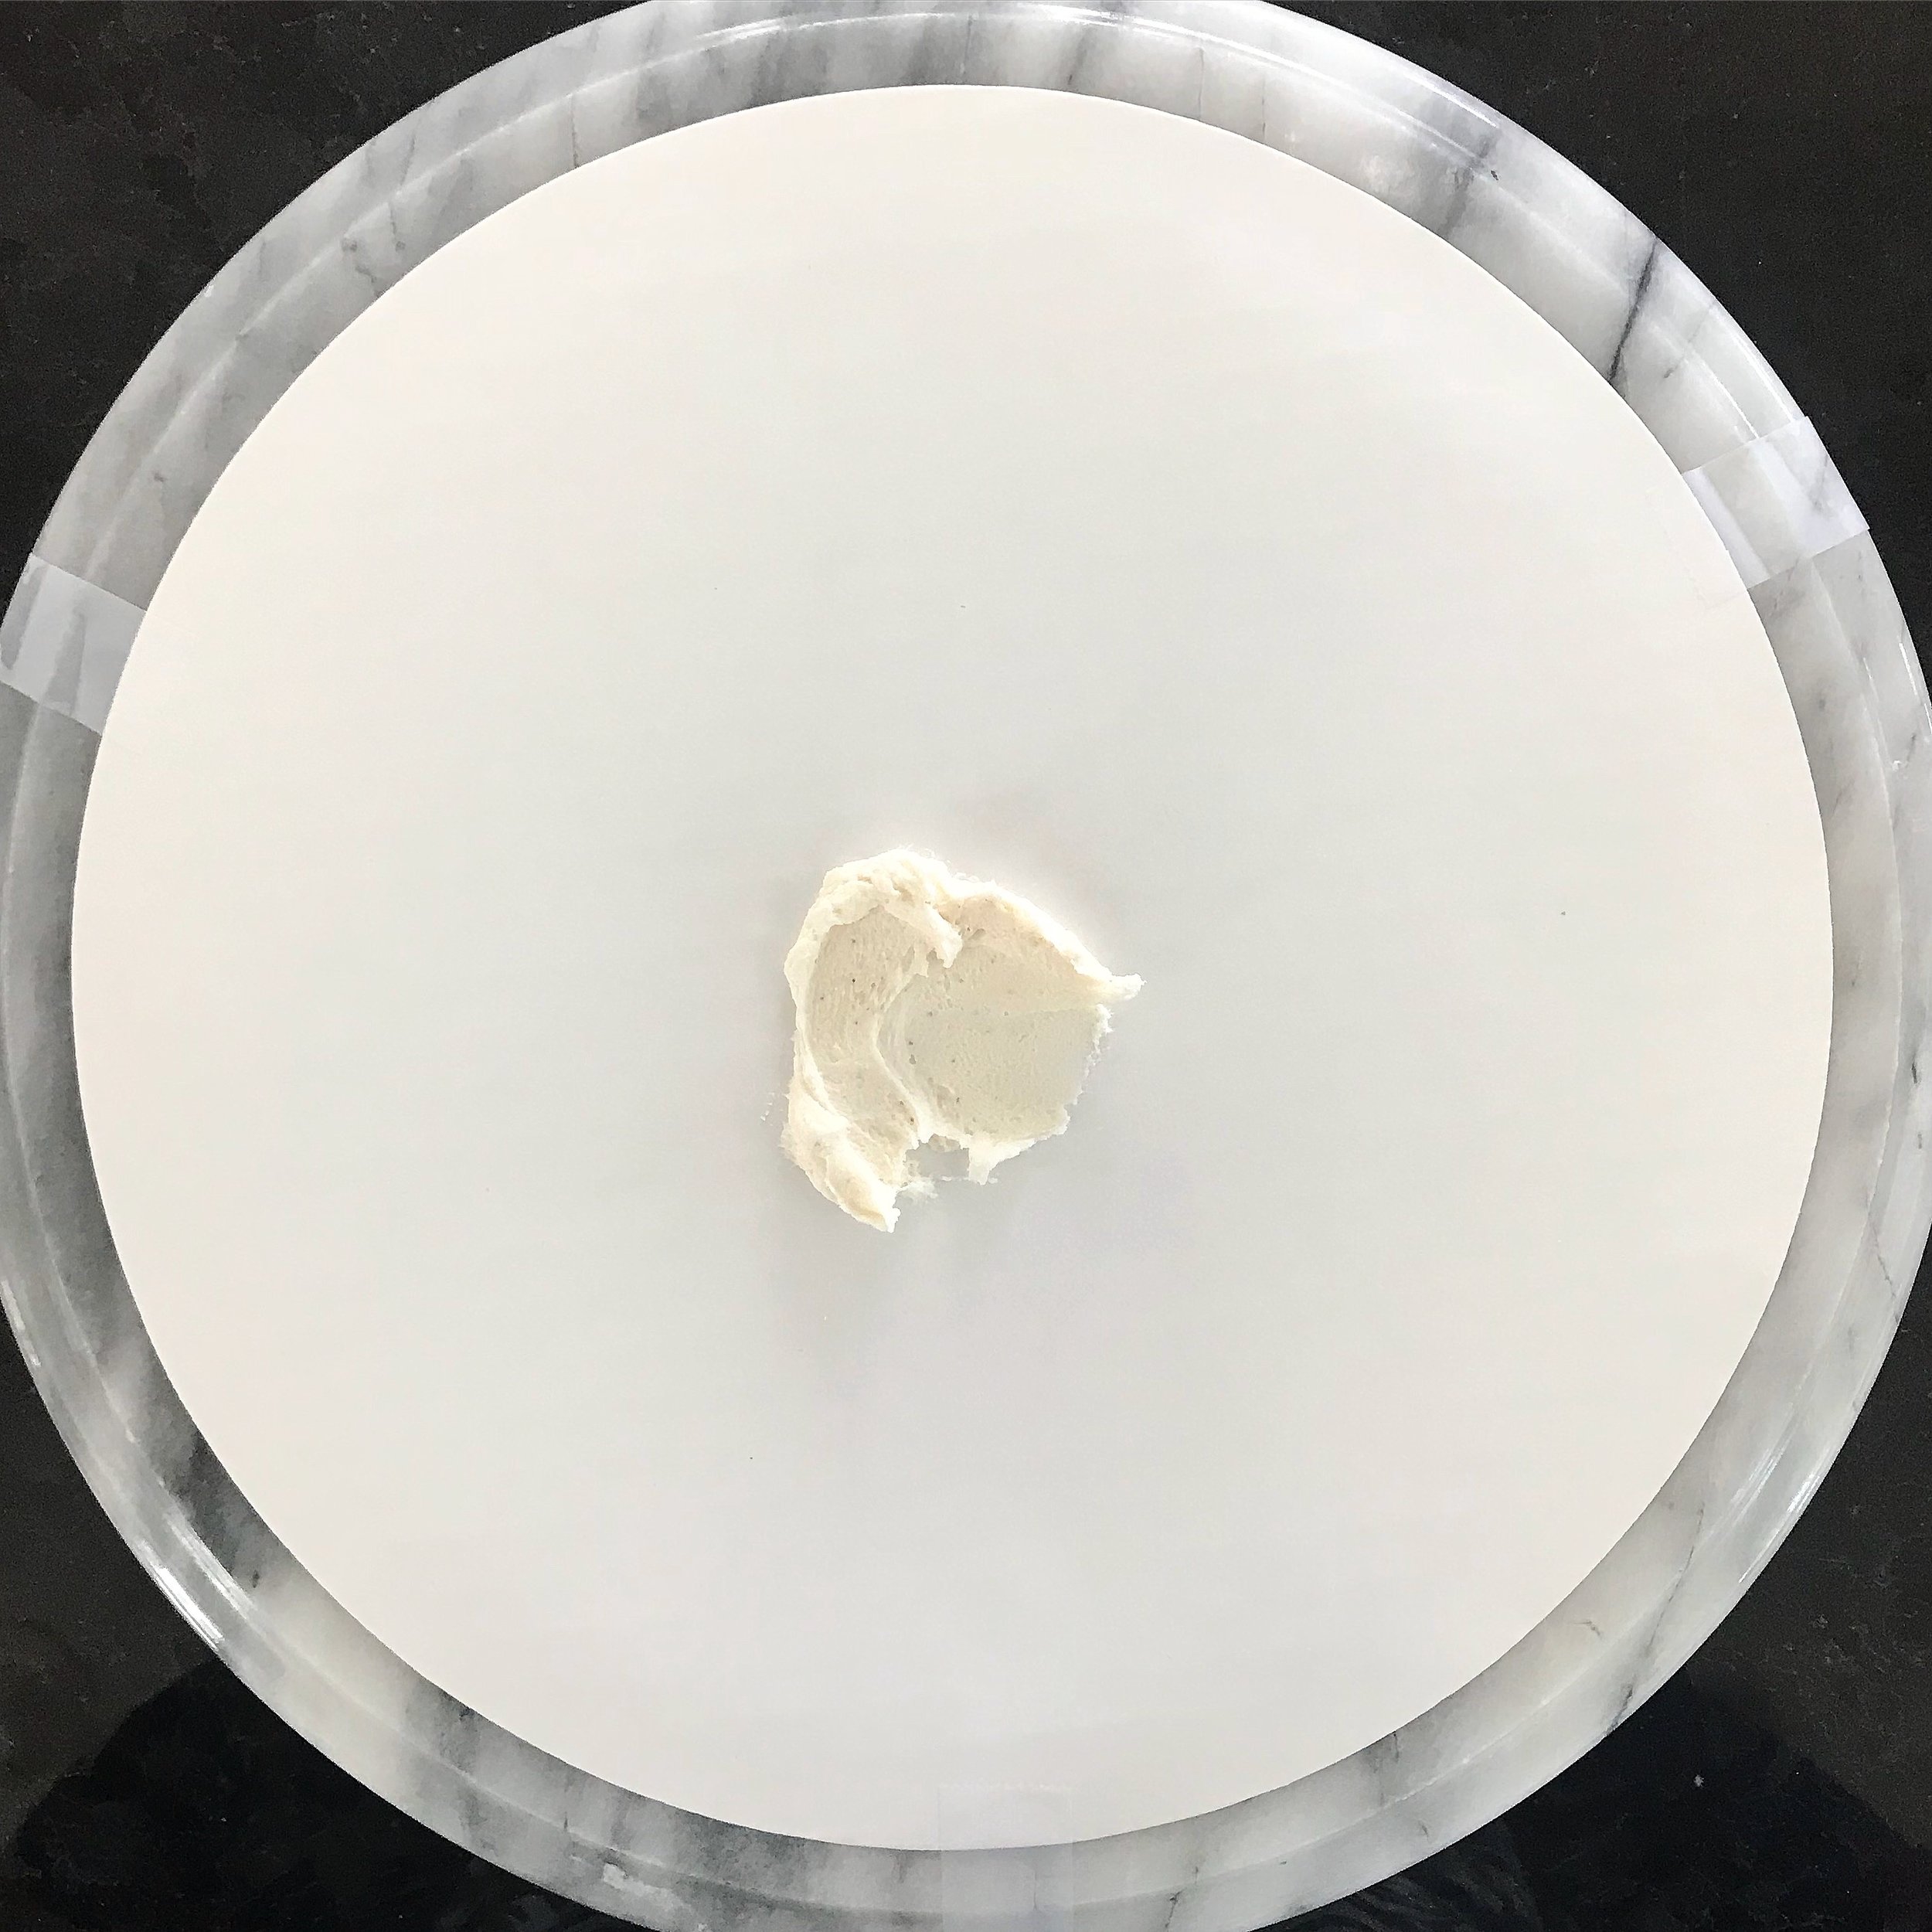
1. Start by securing a 9-inch cake round to a lazy susan or turntable with a few pieces of tape. We'll take the tape off later, but it will keep the cake round from sliding off the turntable while frosting. Dab a bit of frosting right in the middle of the cake round to help anchor the cake in place.

2. Place one of your cake layers onto the prepared cake round. Dollop almost half of your frosting on top. Remember that the bulk of our frosting will be from this middle layer and on top of the cake; don't be stingy with it. I went back and added more to this!

3. Using a spatula, spread the frosting over the top of the cake. Try to make sure your layer of frosting is relatively even or else your finished cake could get lopsided. It's fine if frosting hangs over the edges on to the sides. In fact, we want this!

4. Carefully place your second cake layer on top of the frosting. Mine cracked a bit as I did this, but all was well. Though do try and get it centered.

5. Dollop on more frosting and spread evenly. You're looking for the same amount as before: a bit less than half of your total frosting. Leave yourself some extra frosting so you can fill in any empty patches along the sides later as needed.
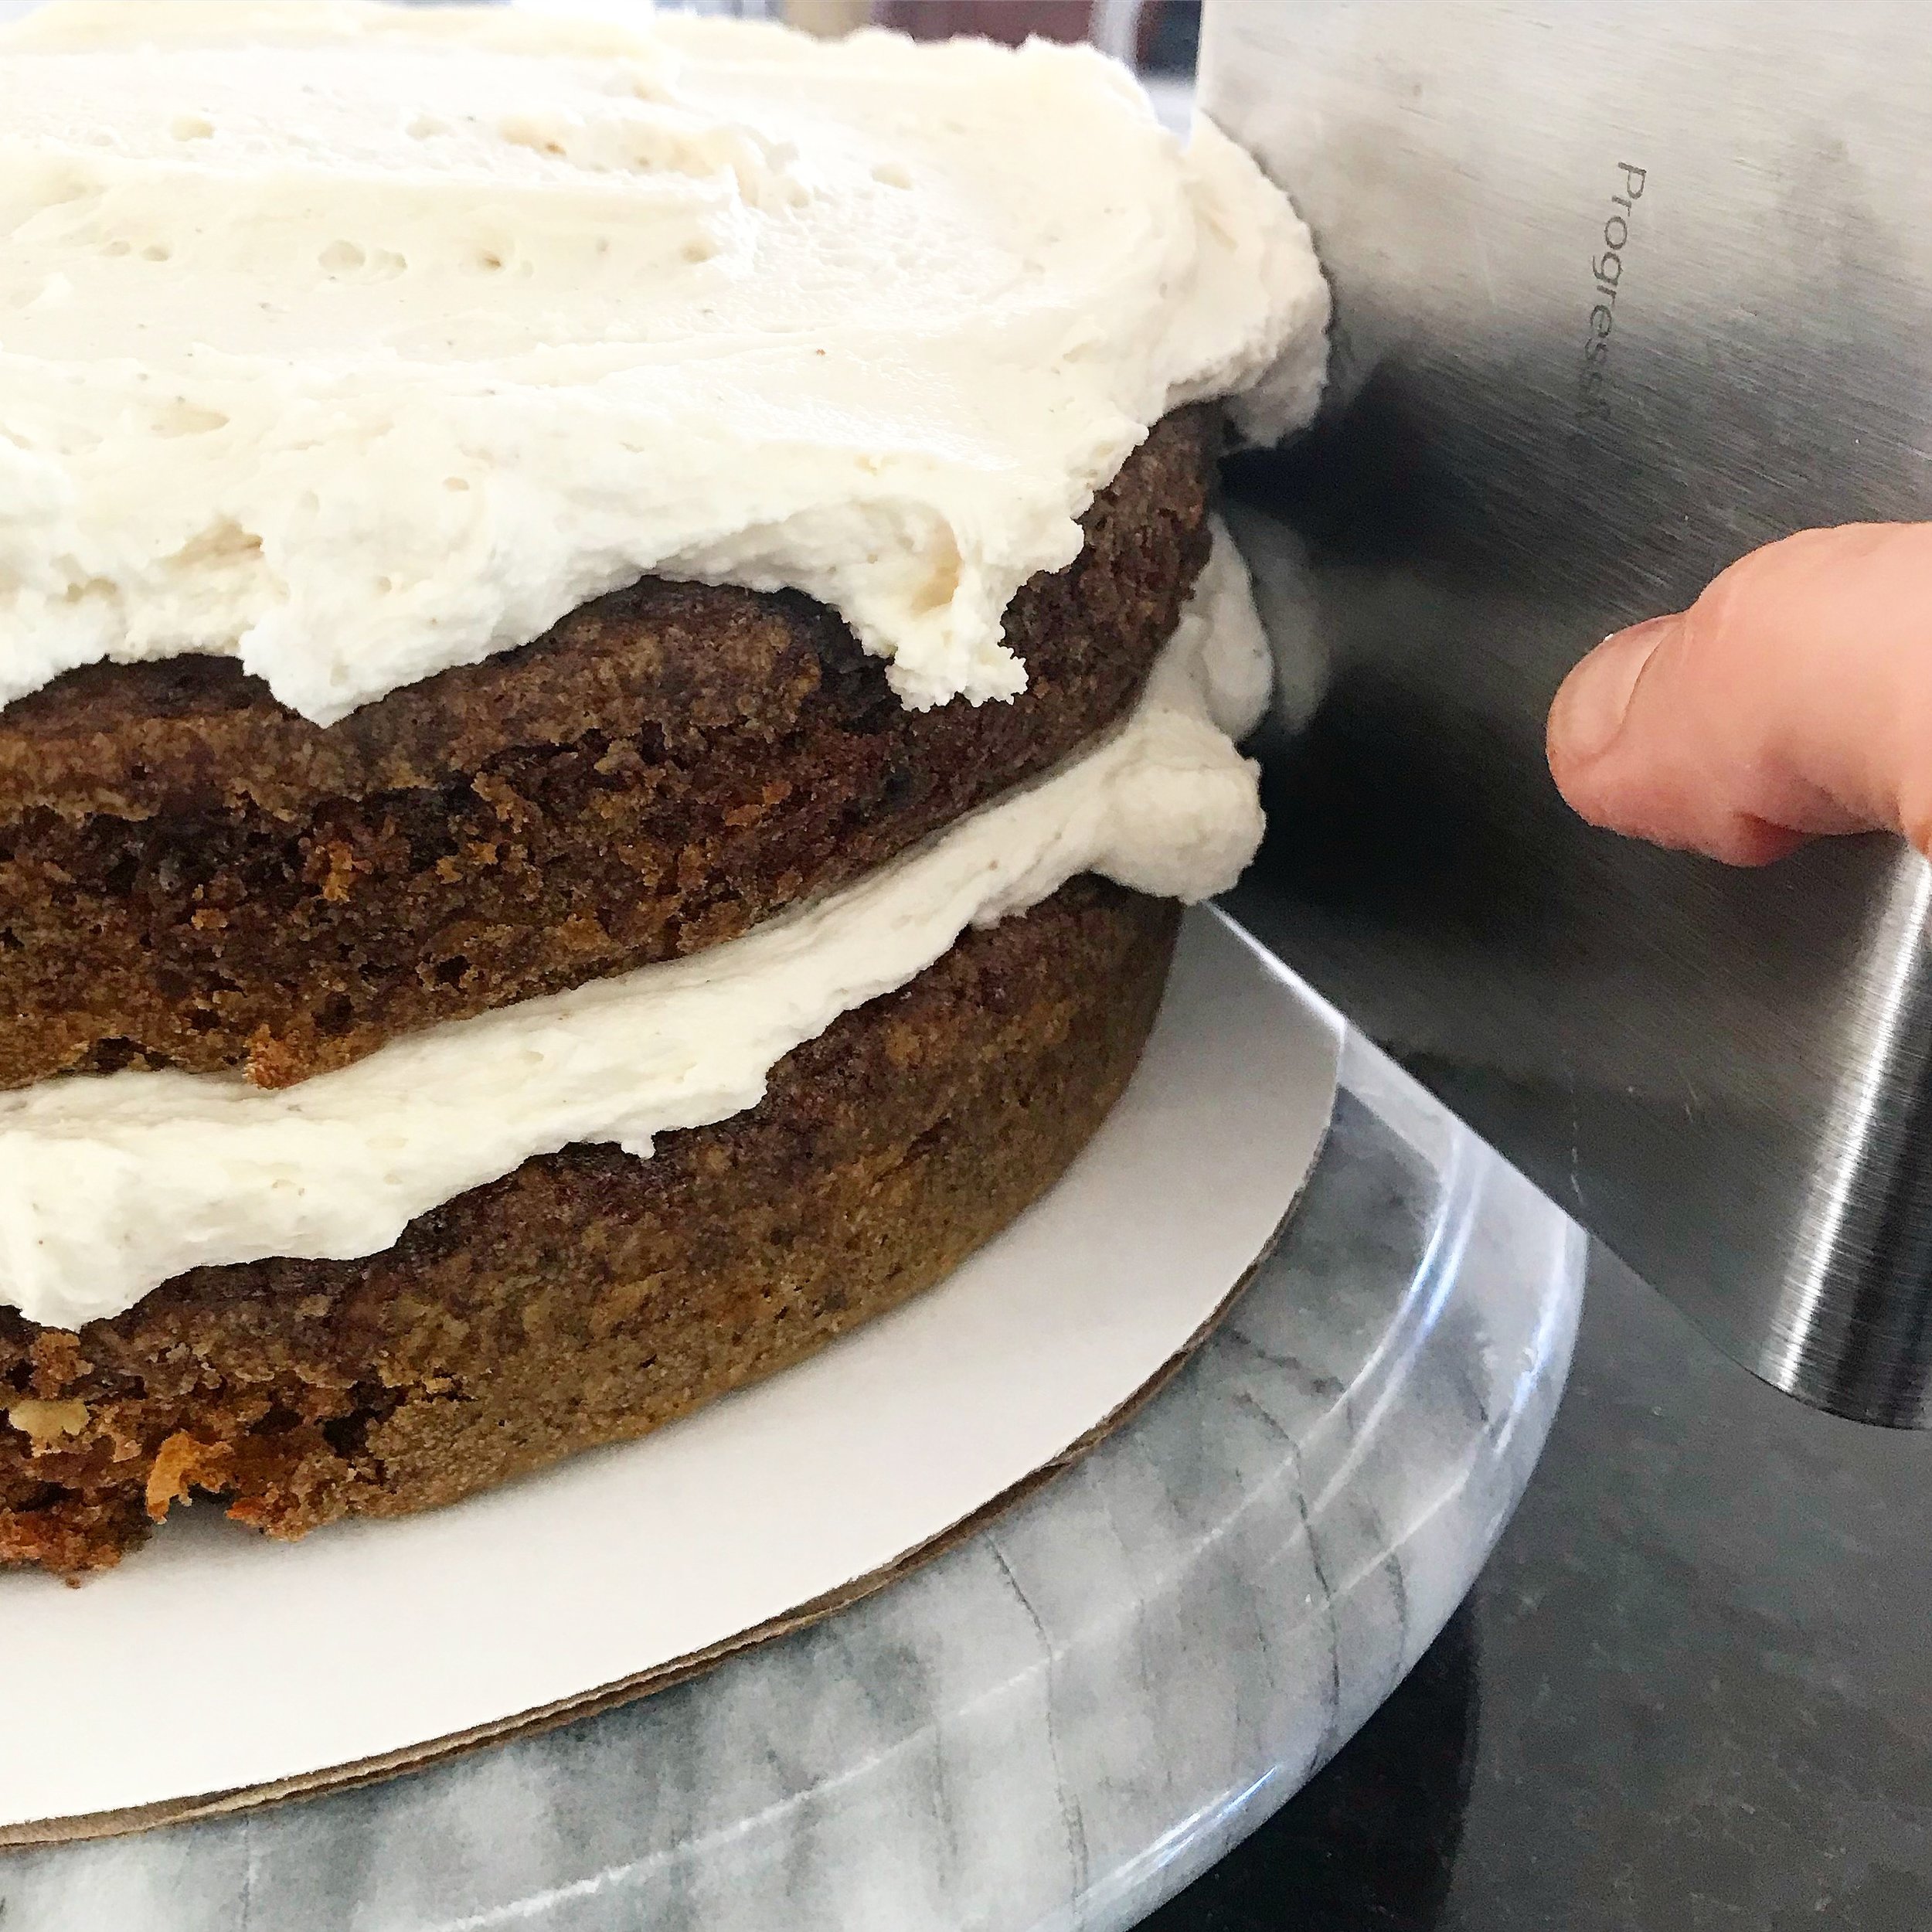
6. Now we put the turntable to work! Hold a bench scraper in place next to the side of the cake. Rotate the cake stand while holding the bench scraper still. This will smooth out the excess frosting on the sides of the cake and also smear it a bit. Smearing is good here. Don't press too hard into the cake as you turn it, or you'll tear chunks out of it.
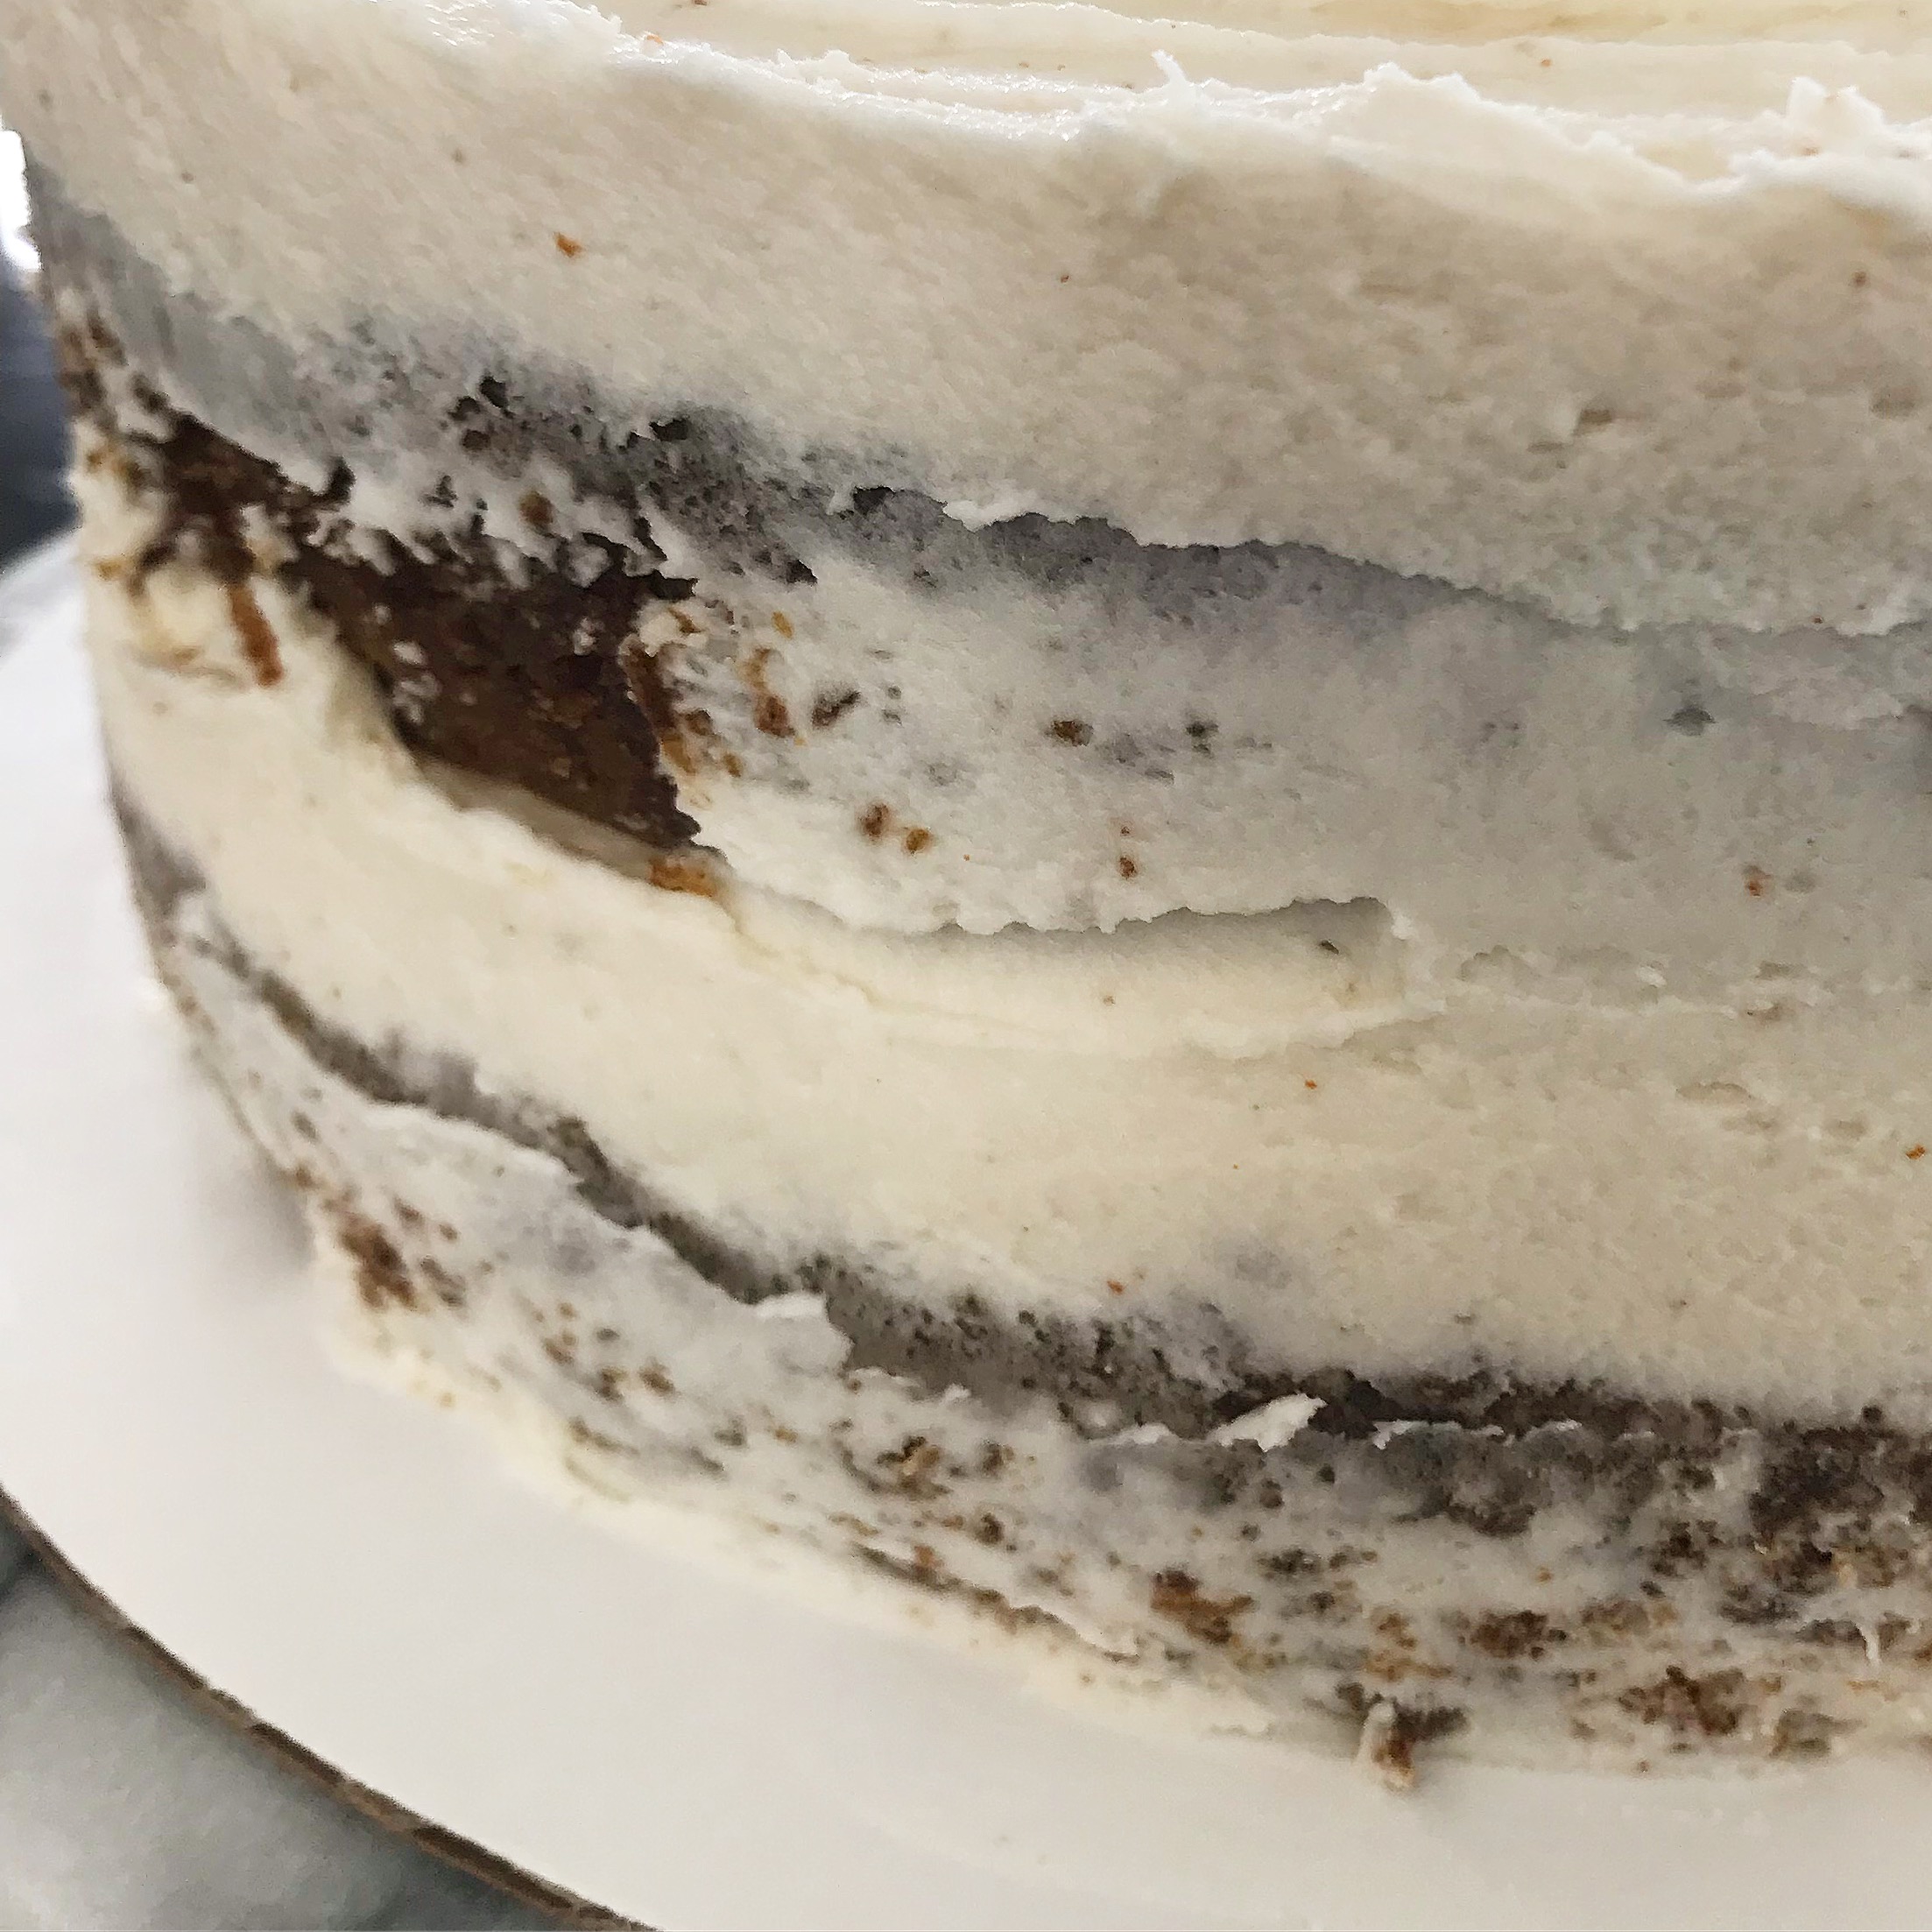
7. This is after scraping the sides of the cake. If you notice any gaps that bother you or a large amount of crumbs collected in one area, dab a bit of your extra frosting on and repeat step 6 to smooth it out.
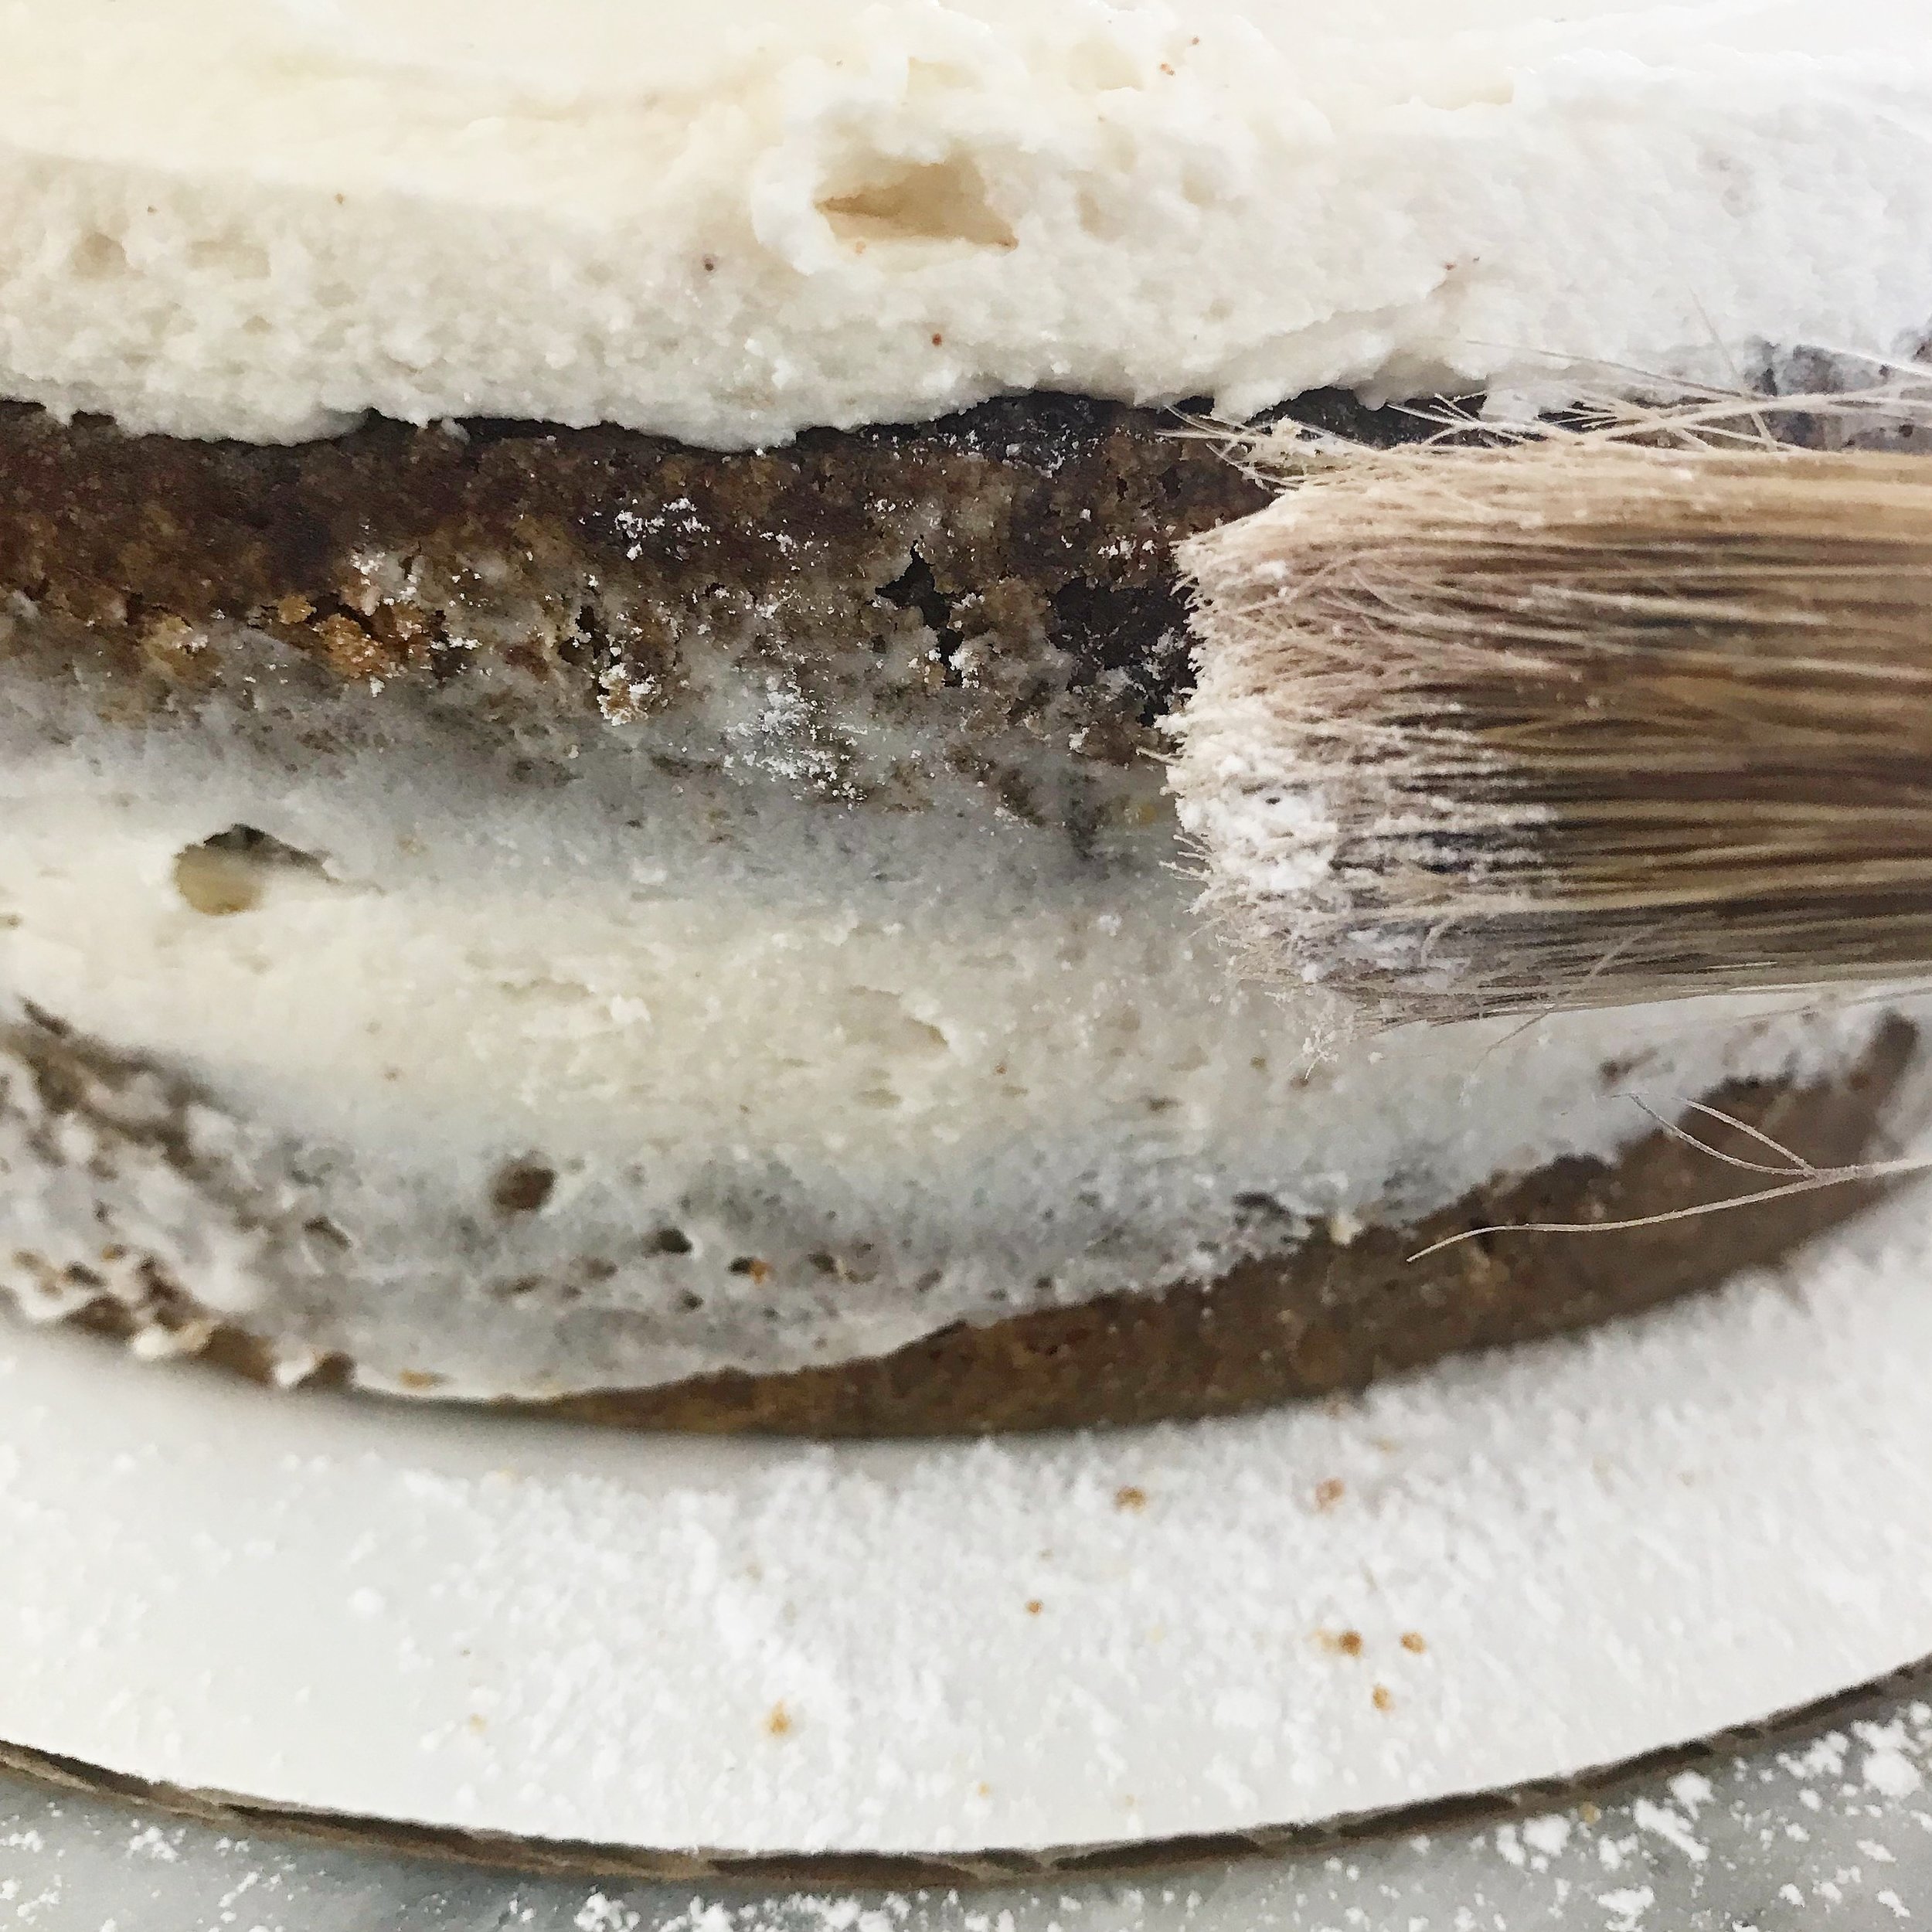
8. Totally optional step: dip a brush into a small amount of powdered sugar and dab it gently onto any area of the cake you want to cover up. I find this helpful to do when I want there to be less of a stark contrast between the frosting and the bare sides of the cake.

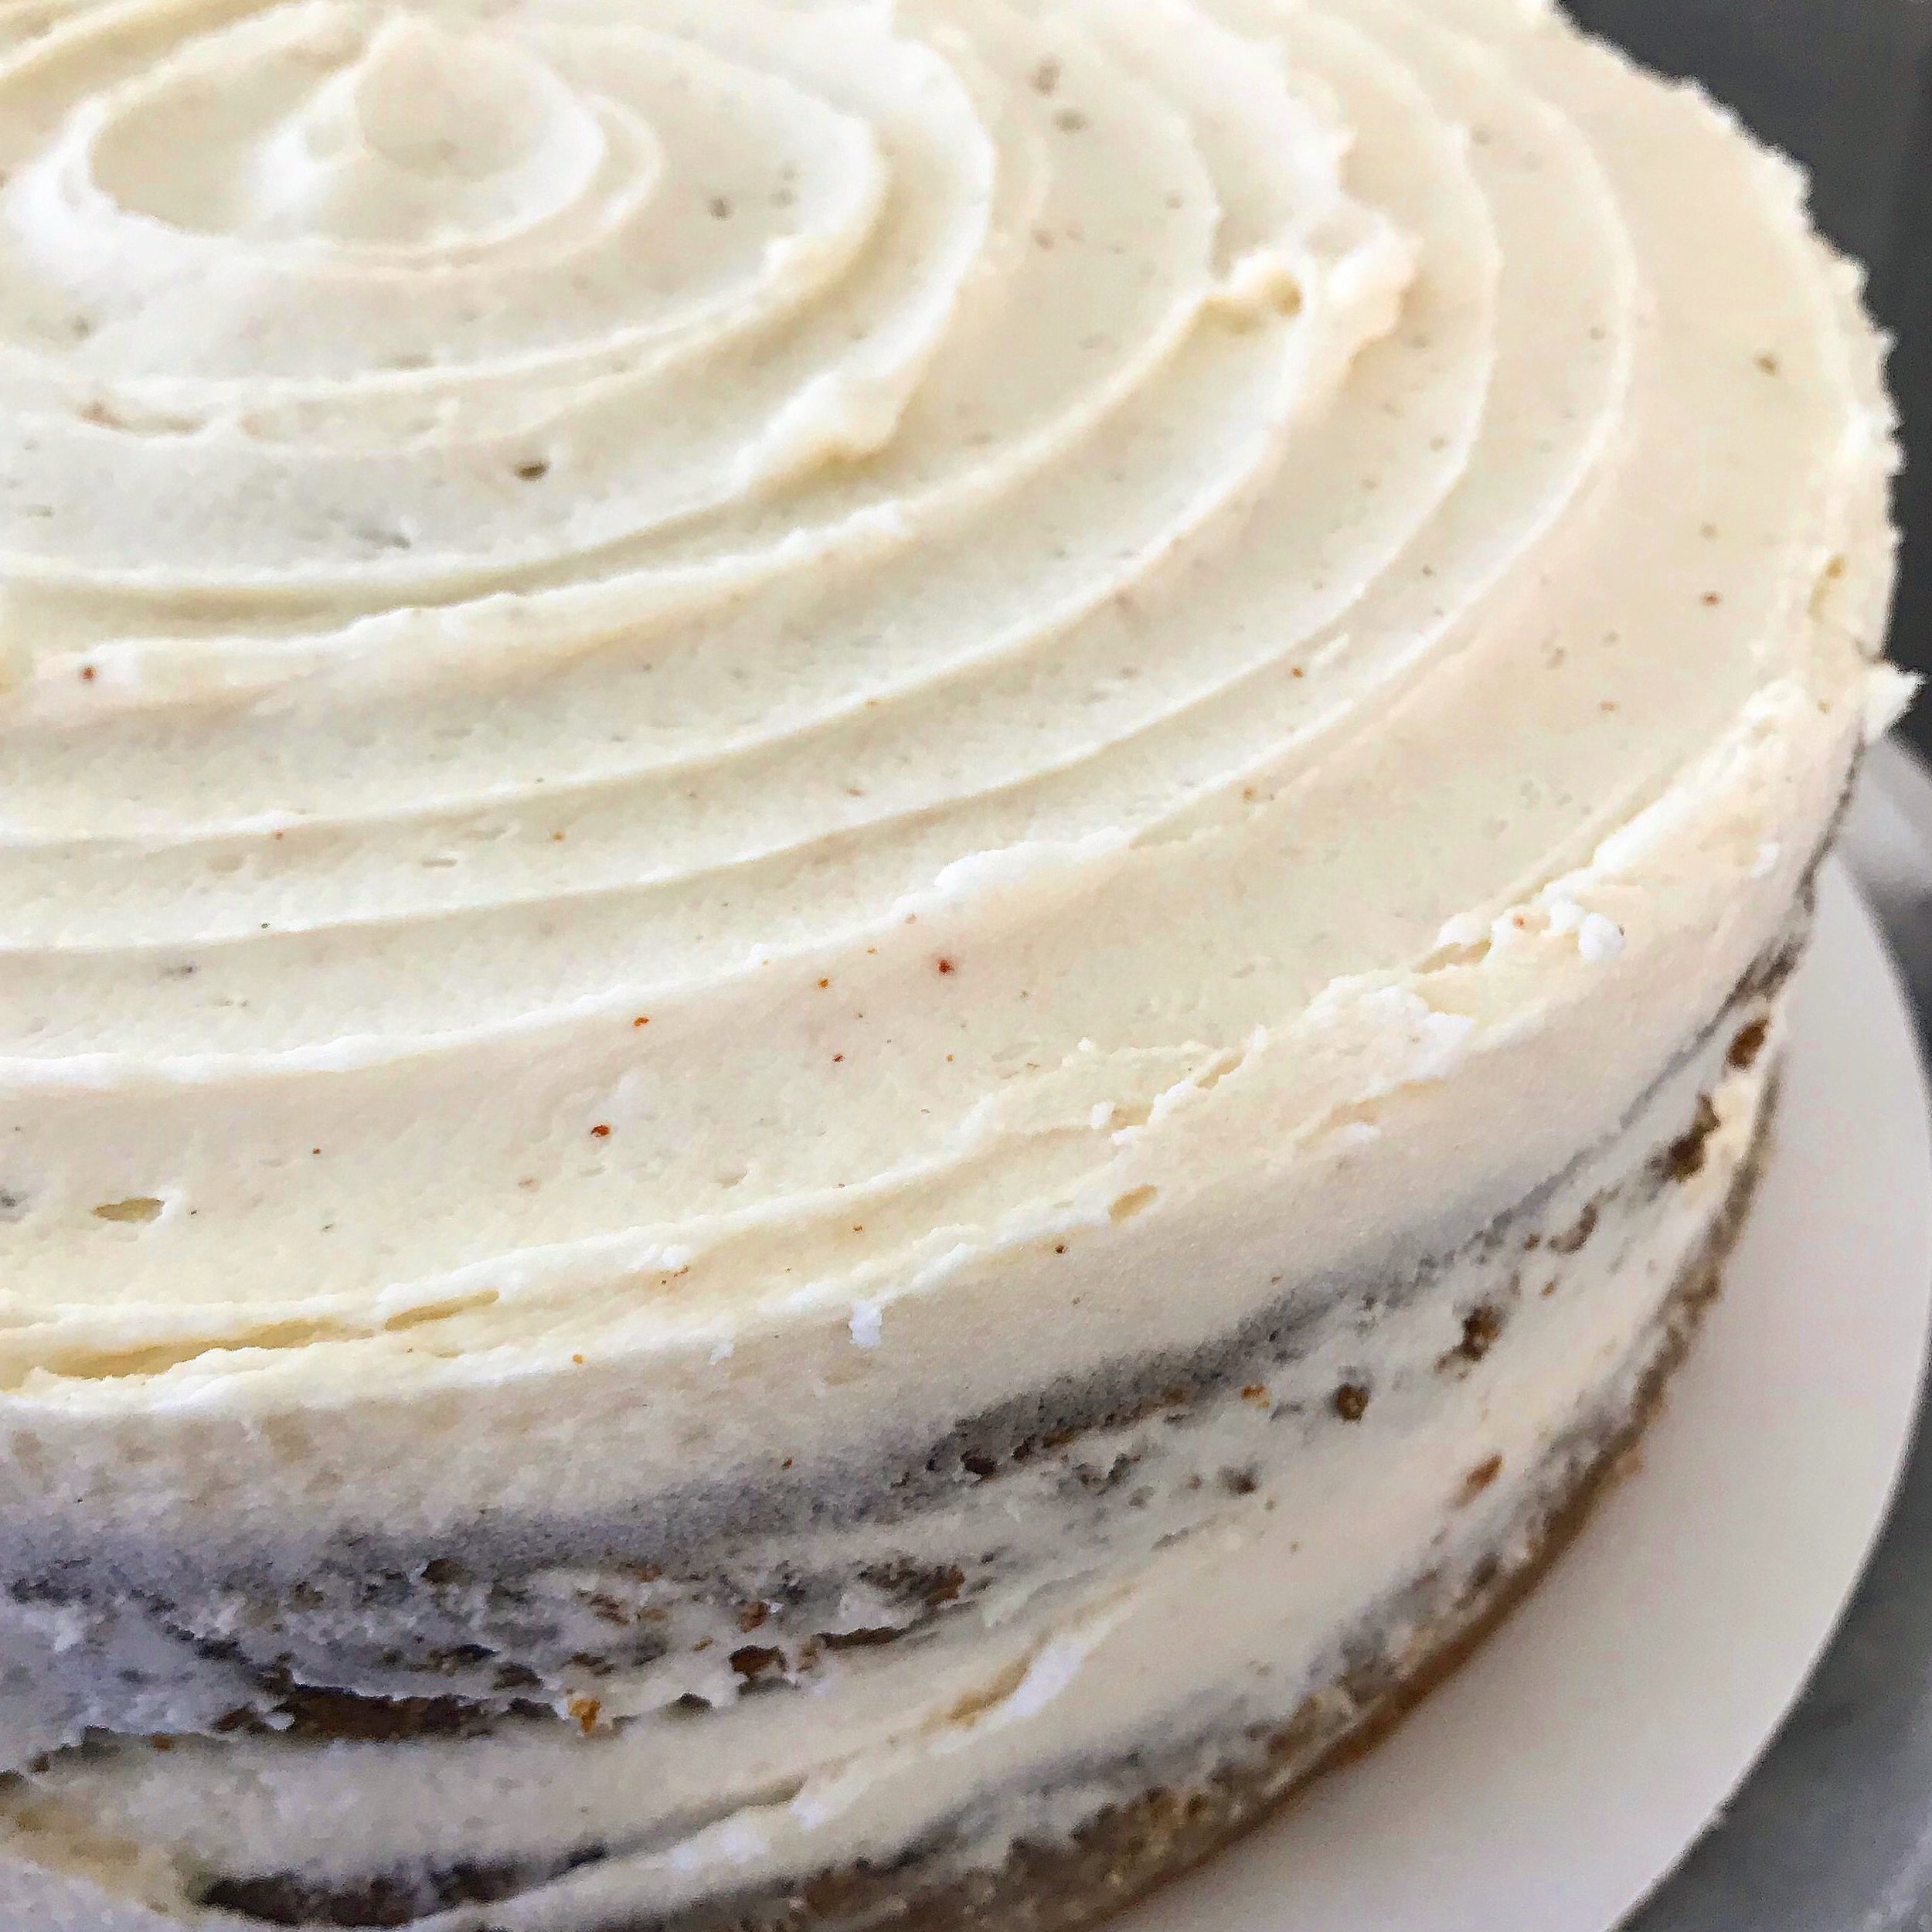
9. On to the top! First, use your spatula to pull in toward the center any bits of frosting that are still hanging over the edge. Then hold your spatula flat on top of the outside edge of the cake. Turn the cake table with your other hand, allowing the spatula to draw a ring around the top of the cake. Once it turns one full time around, move the spatula in an inch or so toward the center of the cake without lifting while you continue to turn the table. Repeat this until you've moved your spatula all the way in to the center of the cake, and you have a big swirl as you see in this picture. If this turns out disastrously, guess what? It's just frosting! Smooth it out and give it another try!
10. Clean up the edges of your cake round with a damp paper towel. Then take off the tape, (carefully) transfer the cake to a pretty serving platter, and enjoy. You worked hard on this! It may be a day for two slices of cake.