
Sugar Cookies
Decorated sugar cookies: the quintessential holiday treat? Perhaps. Certainly for my family. We are bottomless pits for them.
Today, on the last day of my holiday treat series, I'm sharing with you my tips and tricks for delicious, beautiful, decorated sugar cookies. There are options for making them ahead of time, options to make them easier, and options to make them the most fussily gorgeous cookies you can without using royal icing. I've never been a fan of how cookies topped with royal icing taste, despite how pretty they are. I was delighted a few years ago to find an equally gorgeous icing alternative that tastes fantastic. This icing actually enhances the quality of the cookies as they are stored. It's a Festivus miracle!
Without further ado, I present Sugar Cookies. The ultimate holiday joy vehicle.

First things first: you're going to need to make the dough. I have used this recipe from The Kitchn for years, and it has never let me down. It's the one I used when I sold cookies, and I sold hundreds of them. Some tips for using this recipe:
- I eliminate the lemon zest as well as the almond extract, and double the vanilla.
- I totally believe in the recipe's suggestion to roll out portions of the dough between pieces of parchment right after making it and then chilling it in the fridge. This will change your baking life, I promise.
- You can make this dough a few days ahead of time with no loss of quality. In this case, I would divide in two, wrap in plastic, then refrigerate. For longer storage, keep in the freezer, and let thaw in the fridge. It will take a bit more effort to roll out the chilled ball of dough than it would if you roll immediately after making it but not much.
- I roll my dough out 1/8" thick, as I've found that the 1/4" thickness suggested in the recipe makes for cookies that are rather puffy and lose their shape.
Next up is cutting the dough and baking it. My tips:
- I like to make a variety of shapes and sizes of cookies, but I also have a whole drawer dedicated to cookie cutters. Perhaps you're a more reasonable person than I am. I try to keep all the cookies on one pan somewhat similarly-sized to help everything bake evenly.
- Precut sheets of parchment paper are your friend for lining your baking pans. I use Reynolds brand, which can be found at Target. A chef friend told me you can order them (as you can most things) on Amazon, but you may not want hundreds of pieces of parchment to store. I vastly prefer parchment to Silpat sheets, which I find cause cookies to spread too much and lose their shape.
- Prior to cutting the cookies, make sure to peel the parchment paper off of both sides of the dough. This will make removing the cut cookies much easier. You can then set the dough right back down on the parchment after peeling, and it won't stick.
- Scraps of dough can be re-rolled between the same pieces of parchment, then popped into the fridge or freezer to chill the dough again; chilled dough is much easier to cut. Be careful about leaving it in the freezer for too long though. I managed to break my dough multiple times when cutting it because it had frozen solid.
- If you prefer plain cookies to iced ones or just don't have time to decorate, you can sprinkle colored sparkling sugar on the cookies immediately before baking to dress them up a bit. Gently press the sugar into the surface of the dough to help it adhere. I don't recommend using sprinkles such as jimmies or colored balls prior to baking; their colors will leak onto the dough.
- Rotate the pan once while cookies are baking for even cooking.
- If you have a limited number of pans, make sure your pan is cool to the touch before re-using it.
- Let your cookies cool completely before icing them. Happily, this doesn't take long! I usually give it about an hour.
- Undecorated cookies can be frozen and thawed to be decorated later.

Drawer of fun.

Free advertising!

Dough before.

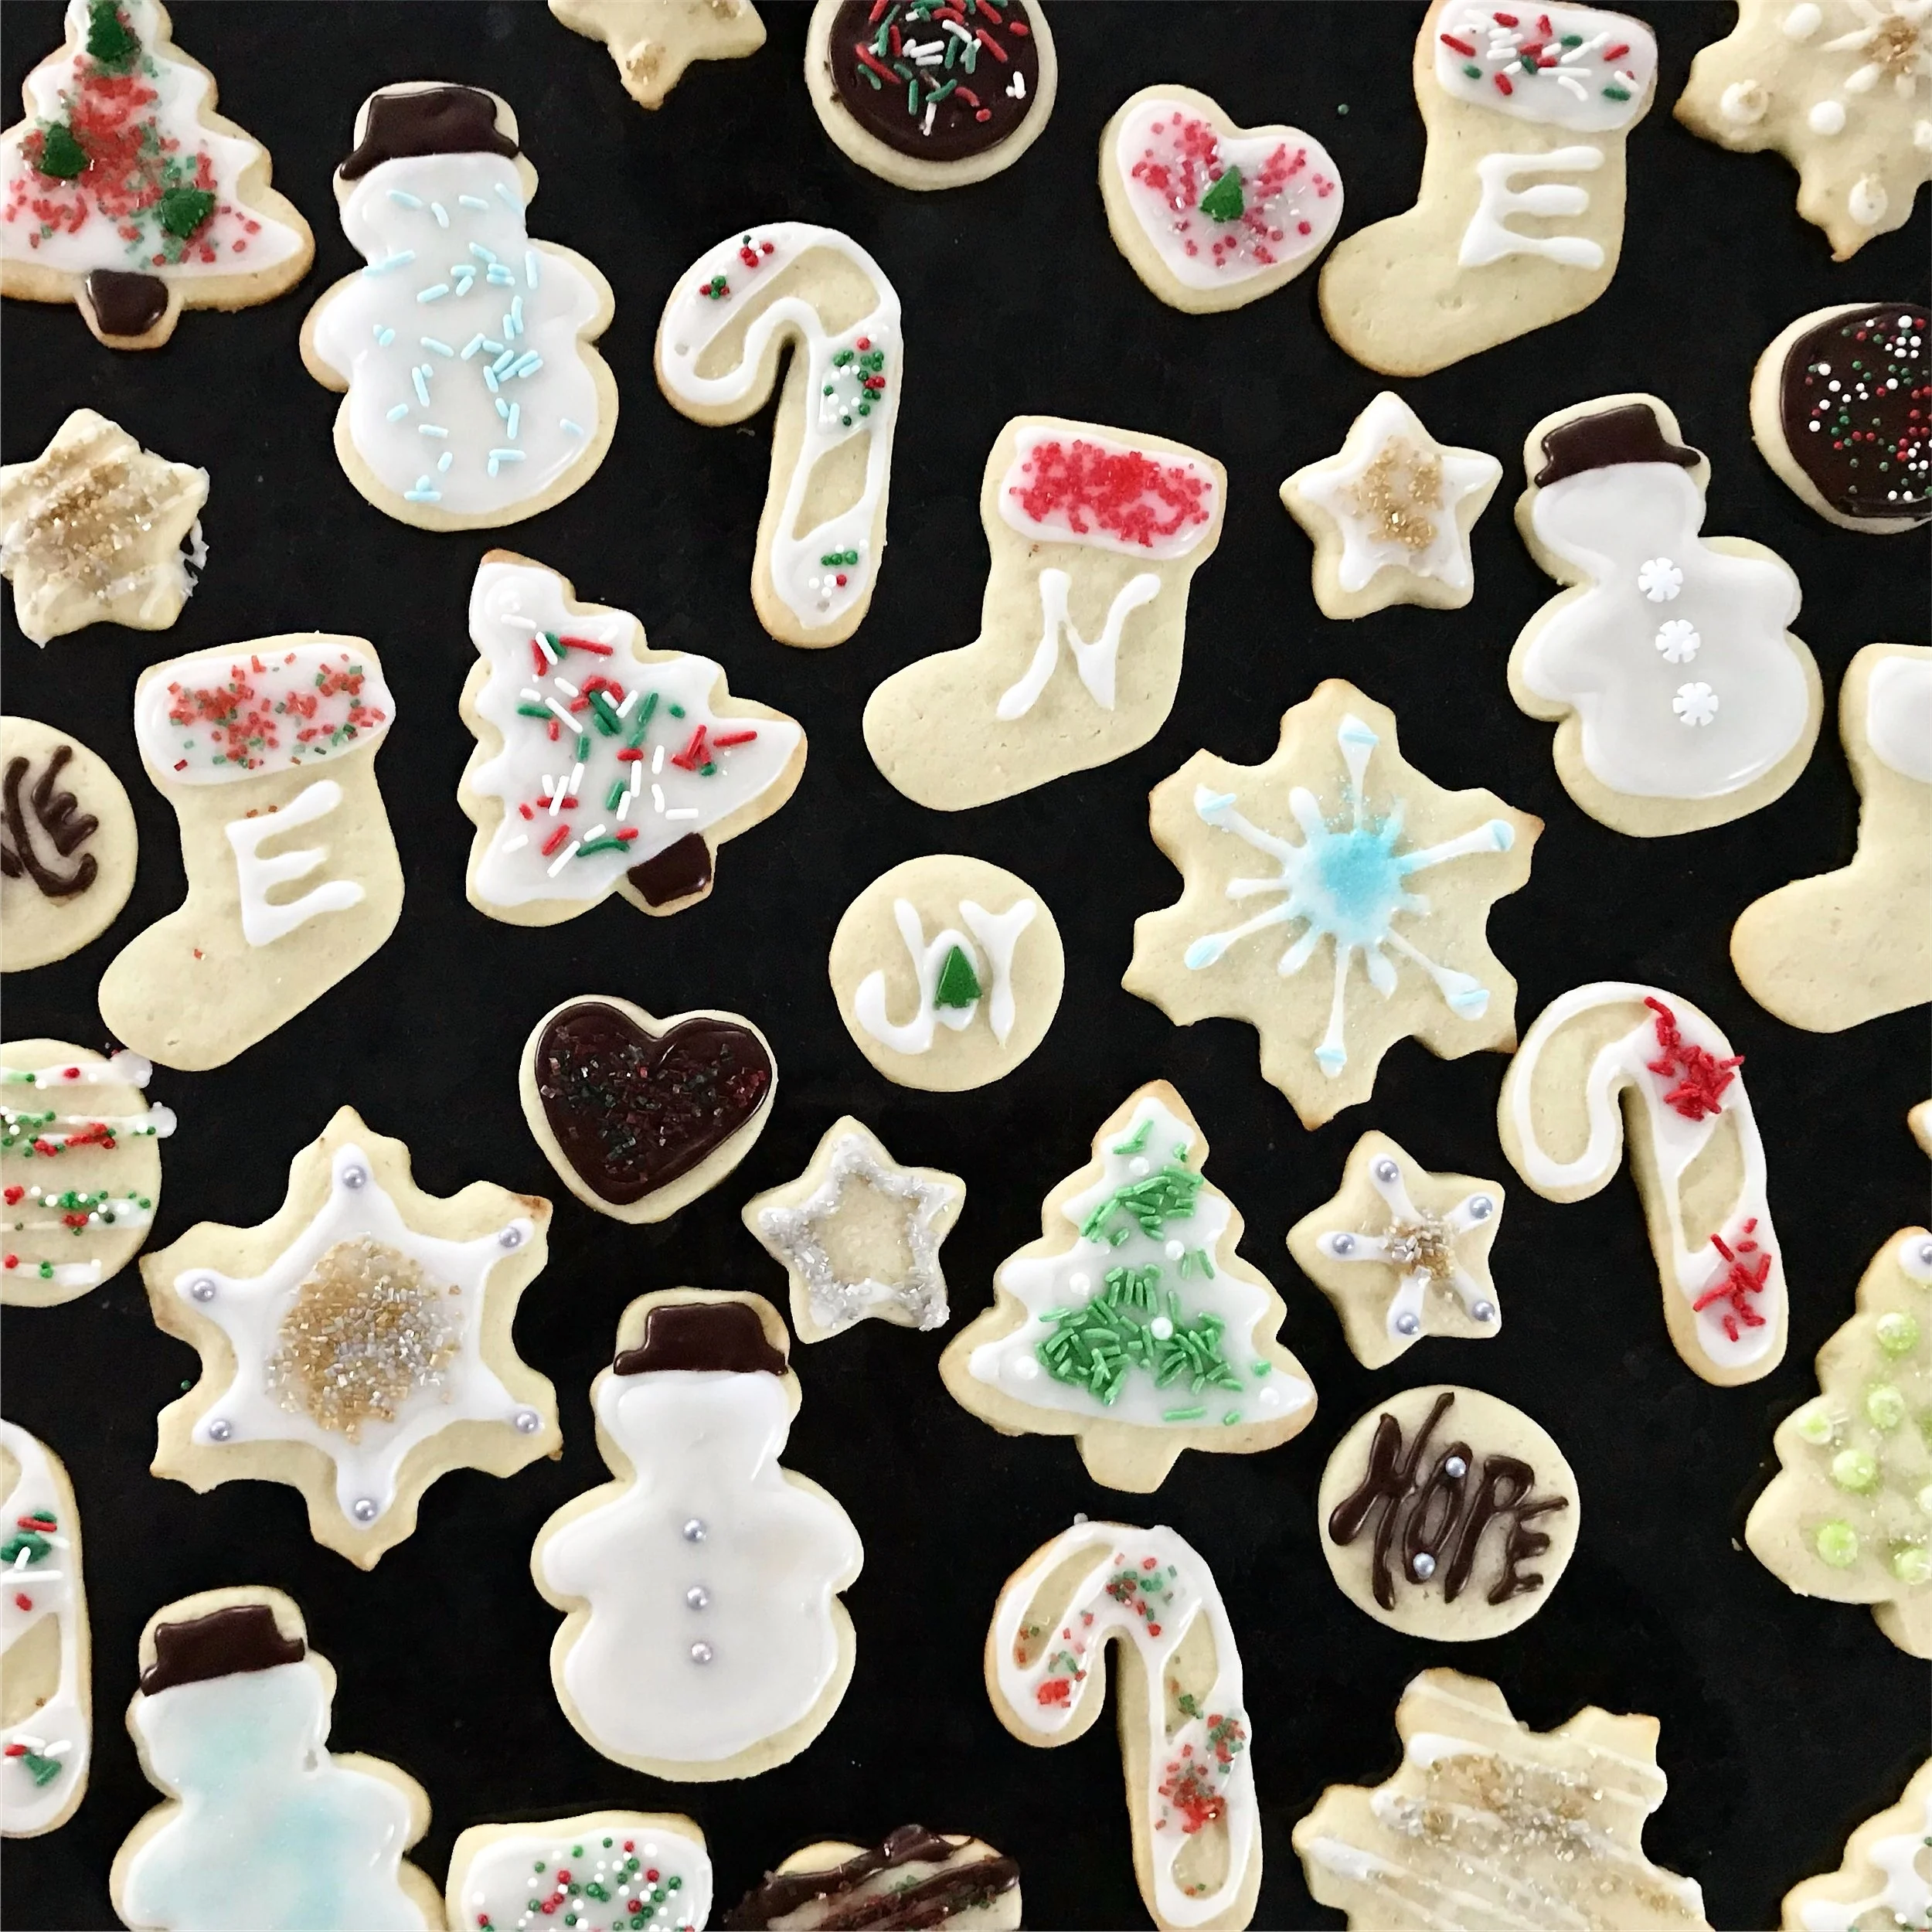
Cookies after.

Oodles of cookies! These are so delicious that they taste fantastic un-iced as well as iced.
Once your cookies are cool, it's time to decorate! The very best part, in my opinion. My tips:
- If you're looking for a less labor intensive-option or will be decorating with kids, frosting with buttercream is an excellent choice. You can make it up to a week in advance and keep it covered tightly in the fridge. Bring to room temperature before using, and add food coloring as desired. Because chocolate is my most favorite flavor ever, I like to use both vanilla and chocolate buttercream for decorating. Reindeer are brown, after all.
- Sprinkles are key. Really, really key. OK, so I have a sprinkles cupboard in addition to a cookie cutter drawer, so maybe I can't be trusted. But seriously, a lovely array of sprinkles takes your cookies to next-level pretty. I recommend the selection at Michael's. But don't forget your 40% off coupon! Never buy anything at Michael's without it!
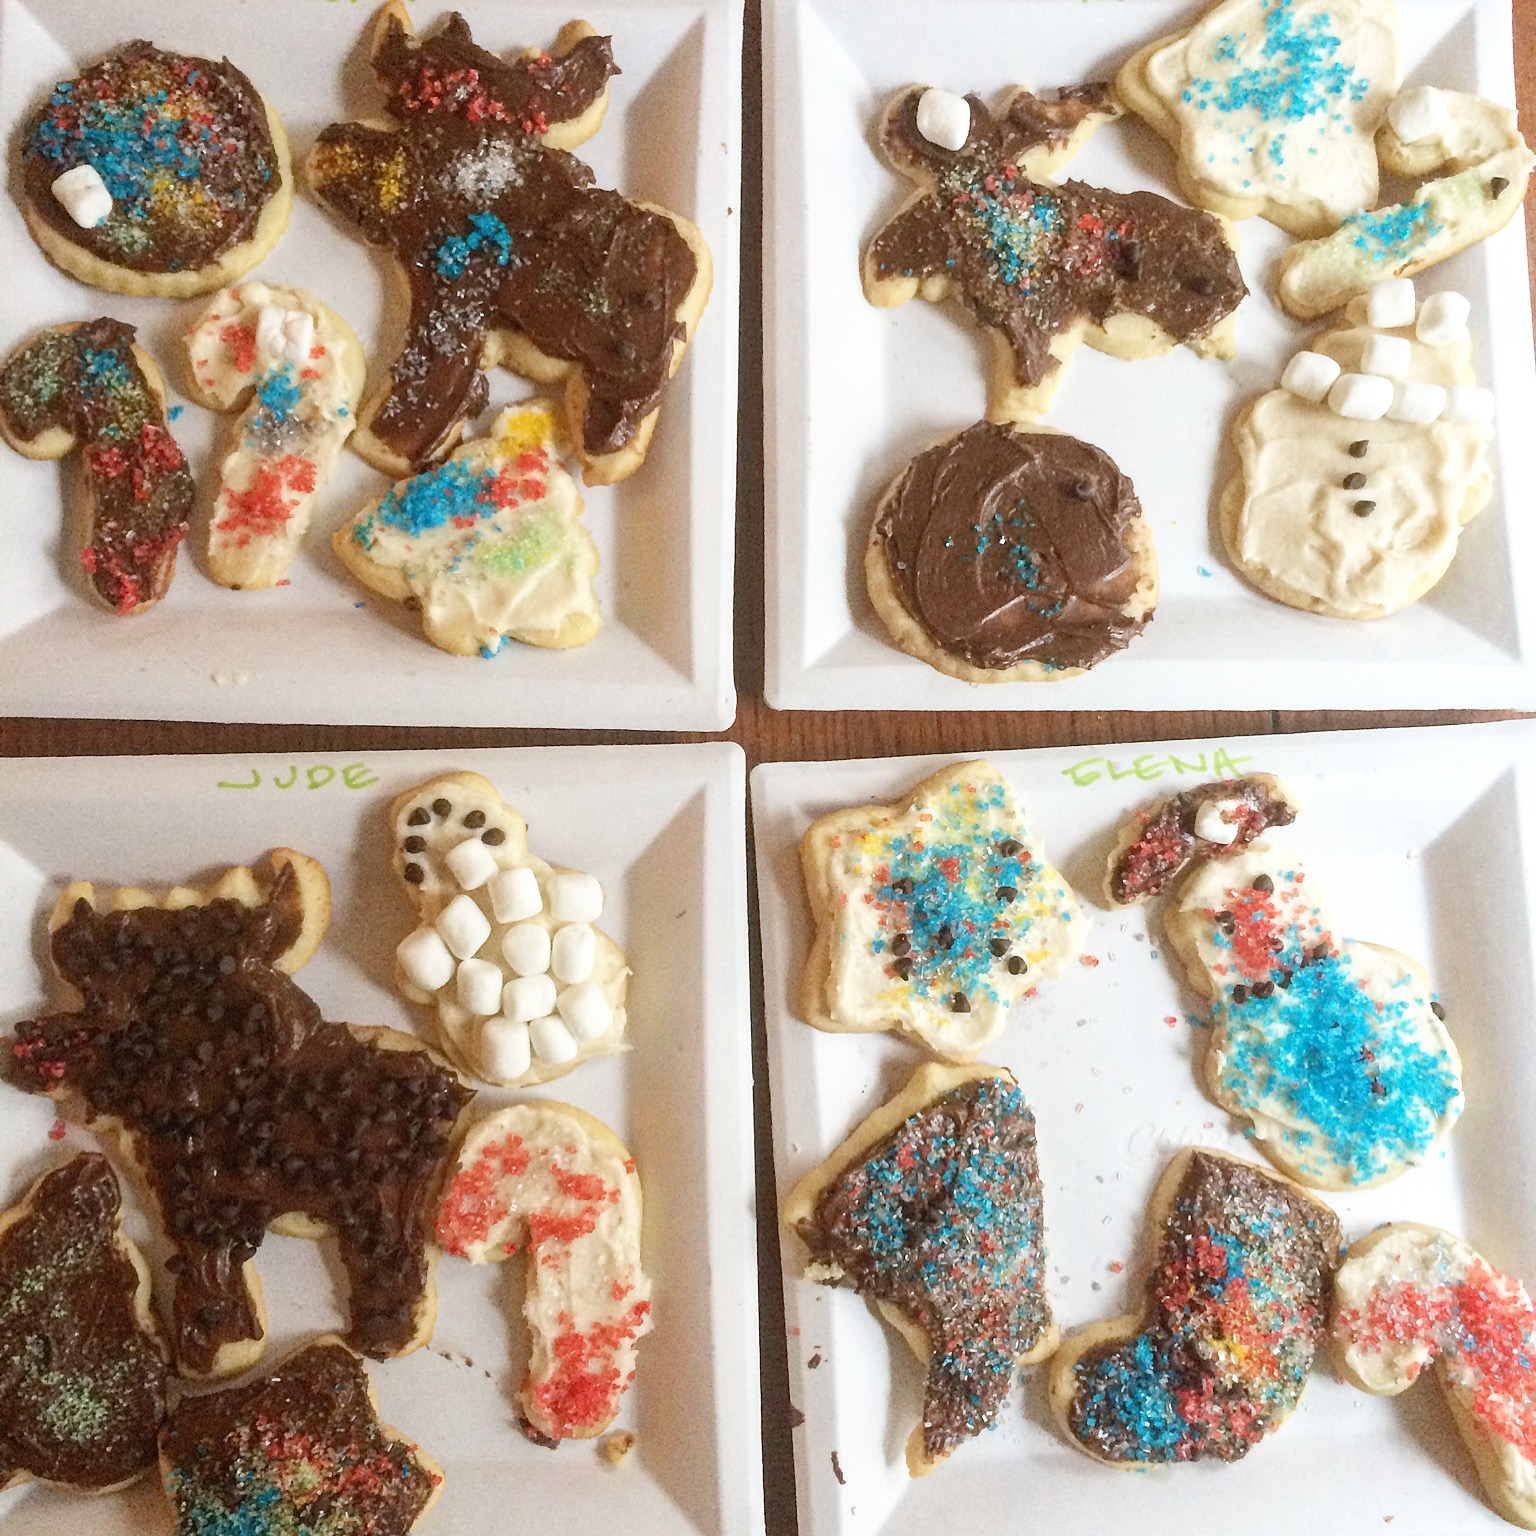
Buttercream-topped. Why limit yourself to frosting & sprinkles, though? Use ALL THE SWEET THINGS. The children will love you.
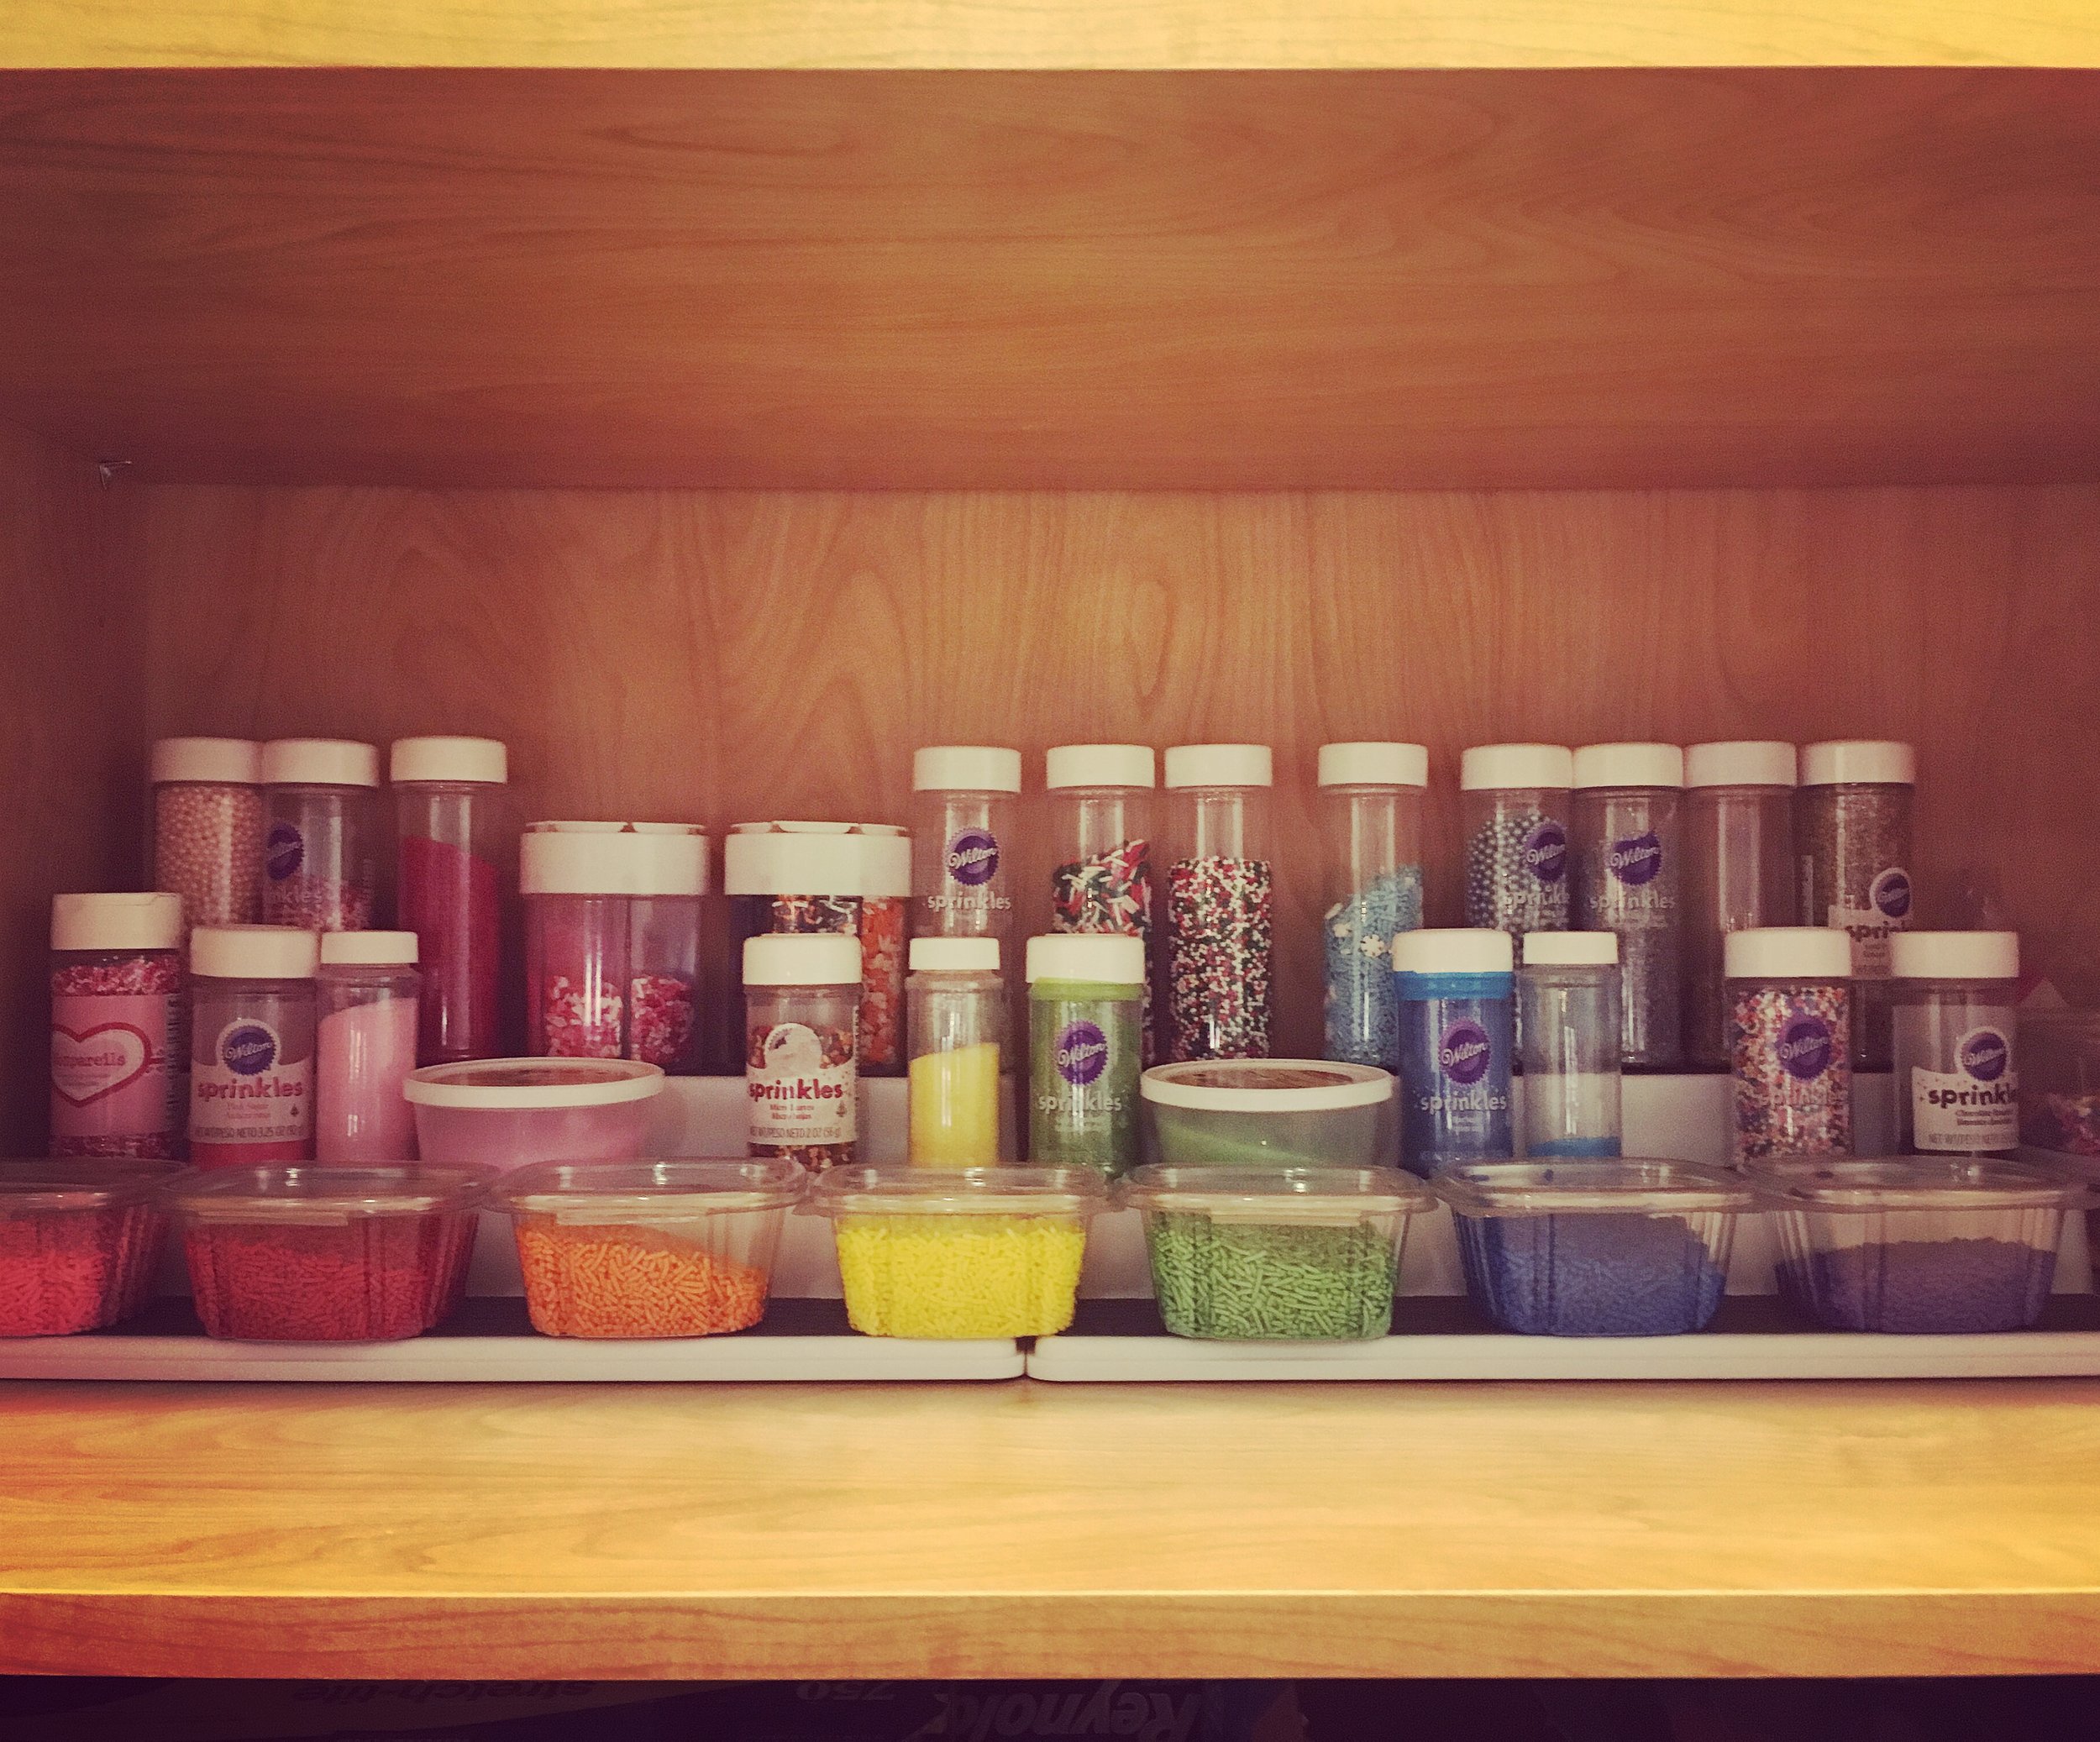
Will you think less of me if I told you that this is not even all of my sprinkles?
- If you are ready to go all in on fancy cookies, I highly recommend this tutorial, also from The Kitchn. You can find squeeze bottles at many kitchen stores. Be aware that you may need to cut the tip a bit to widen it if the hole is pin-sized.
- For the border/flood icing recipe above, I substitute water for the milk and omit the vanilla to keep the color more pristine. I usually start with less liquid than the recipe calls for and slowly add more a bit at a time. Use the tutorial's cues about what the icing should look like rather than the amounts listed as your guide. How much liquid is required can be impacted by how heavy a measuring hand you have with the sugar as can the humidity in your kitchen. Because I'm sprinkles-crazy, I also skip adding food coloring. If you do use it, I recommend gel food coloring, which will not change the ratio of sugar to liquid in the icing as much as regular food coloring will.
- If you'd like to use the border/flood technique but make it chocolate, you can do it! I looooove doing this. For border icing: 1 cup powdered sugar + 1/3 cup unsweetened cocoa powder + about 2 tablespoons water. For flood icing: 1 cup powdered sugar + 1/3 cup unsweetened cocoa powder + about 3-1/2 tablespoons water. Remember, start with less water and add more if needed. You want your border icing to be thick enough it hangs on your spoon for a few seconds, and you want your flood icing to flow more easily.
- Whether you use buttercream or the border/flood technique, it works best to frost or ice just a few cookies and then immediately top with sprinkles. If you frost your whole batch, the frosting or icing will develop a crust (which we want!), and you won't be able to get to sprinkles to adhere.
- Check out the photos below for some tricks for getting the border/flood technique to look as neat as possible.

If your border drips off the side of the cookie a bit, use a toothpick to scrape off the excess.

To keep your border from getting too thick and blobby-y where points of it meet, lift the bottle so that the icing forms a trail. Extend the trail over a part of the already-drawn border to hide it. It will meld right into the border.

Sprinkles and other decorations can be added to the border icing, but need to be placed almost immediately after drawing. I like to use a pair of tweezers for precision; the sharp tip can also break open the icing if its already hardened. Yes, I keep a pair of tweezers in my kitchen just for this.

If you're running low on flood icing and only have a few cookies left to decorate, you can extend the icing a bit by tilting the cookie gently until it touches the border icing, then tilt in the other direction to even it out. A toothpick can also help distribute a scant amount of icing.
My friends, I hope you've enjoyed this series of holiday treats as much as I've enjoyed testing, photographing, and writing it for you. May this holiday season be full of peace, joy, and hope for you and yours.
And may your treats be delicious.
