
Gluten-Free Cake Donuts
I did a lot of learning this week:
Gluten free baking is really expensive.
Sometimes, double dunking donuts is not a good choice.
I will never want to stop eating at just one donut.
All helpful things to know!
I decided to tackle gluten-free donuts as the next stop on my Donut Quest. I’ve cooked and baked to accommodate many different food restrictions but have never ventured into gluten-free baking. So, I crowdsourced my gluten-free friends on social media and got the scoop: King Arthur All Purpose Gluten Free Flour, made primarily with rice flour, produces the best results. Other brands that heavily depend on bean flours produce baked goods that taste, well, beany. Beany donuts not being the goal, I went with King Arthur.
Another important gluten-free baking point: some gluten-free flours can be substituted cup-for-cup in your recipes written for gluten-laden all-purpose flour. These will say something like “measure-for-measure” or “cup-for-cup” right on the package. But a one-to-one substitution won’t work for many gluten-free flours, including the one I used. Most flours require the addition of xantham gum to the recipe as well.
Xantham what? Xantham gum, friends. It’s a food additive that acts as a binder, holding together baked goods like gluten would. The measure-for-measure flours have xantham gum or a similar binder added to them already. The King Arthur gluten-free flour I purchased did not, so I had to add xantham gum as well. Make sure to check your flour package to see if you’ll need to add it to your recipe.
And here’s where we get to my first lesson: less than two pounds of the gluten free flour cost $5.99 at my grocery store. And then the xantham gum cost $9.29. A friend who has Celiac Disease told me that her grocery bill increased threefold after her diagnosis. Gluten-free folks, there’s no way around it: this is pricey. Hugs and donuts to you.
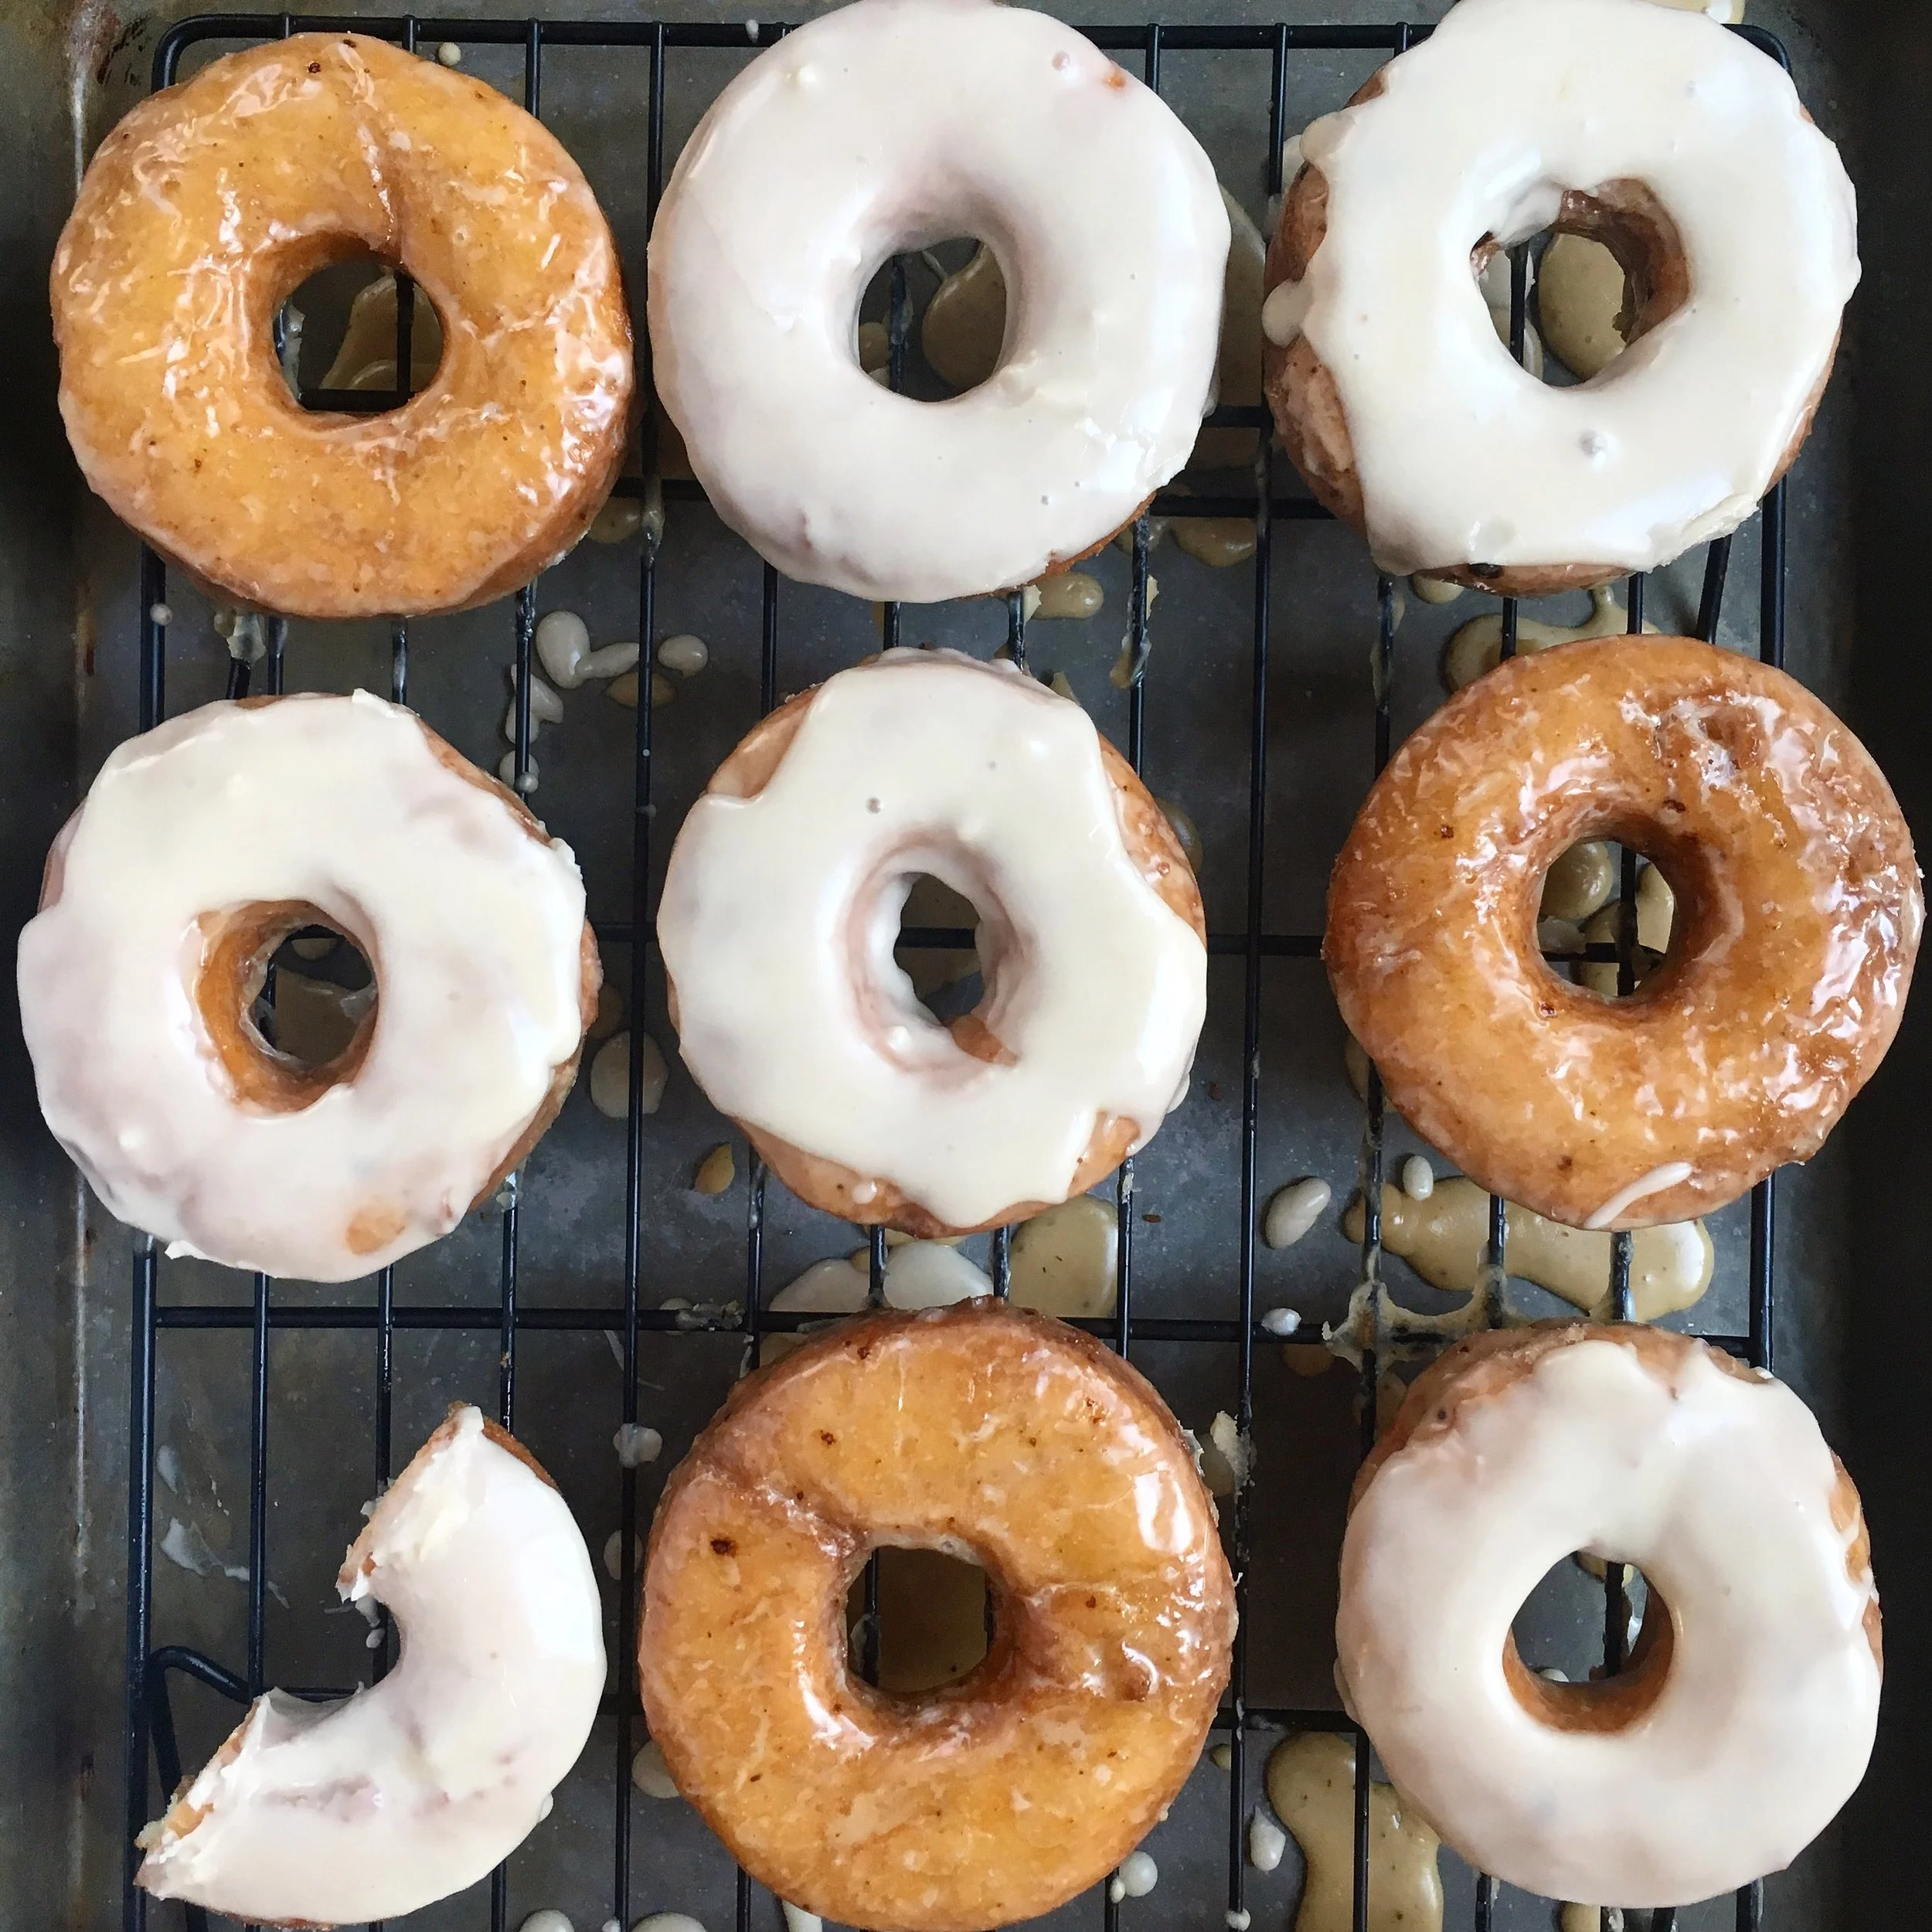
Onward to my second lesson: the failure of the double dunk. Yes, I was shocked too! I wanted to try out both a coffee glaze and a maple icing and wondered what would happen if I double dunked à la my Chocolate Cake Donuts from a few weeks ago. What happened was sugar overload. It was too much, even for me, and my ability to consume sugar is pretty amazing. My children, on the other hand, loved them. One of them hates tater tots, and the other one doesn’t eat any vegetables except for peeled cucumbers, so I don’t think we should give their culinary opinions too much weight. My advice: make the coffee glaze OR the maple icing. Or go halvsies with the batch. Remember, we’re in the business of you doing you at 48 Sugar Street.
And finally, the third lesson. I was prepared to tolerate these, having no idea if a gluten-free donut could live up to a gluten-full donut. To my delight, they were absolutely delicious. Tender. Light. Almost delicate. One of my testers said that she liked it much better than a regular donut, in fact. The coffee glaze was very coffee-y and had that wonderful sort of crackle you hope for in a glaze. The maple icing was thick, set up in perfect drips, and had a slight hint of salt. I kept going back for more, cutting donuts into quarters and saying, “But I really should try the coffee-glazed now that it’s totally cool. And then I should probably compare it to the maple one again, so I should have a maple one. And did I really think the double dunked was too sweet? Let me try that again.”
I think my idea of heaven involves endless donuts, including gluten-free ones.


One of the cookbooks I bought when I started my Donut Quest was a cookbook from the beloved Top Pot Hand-Forged Doughnuts in Seattle. I’ve never eaten a Top Pot donut before, but next time I’m in Seattle, I am THERE. This was the first recipe I’ve adapted from that cookbook and I’m sold on them. This recipe was specifically written to be made gluten-free, so it does call for xantham gum. You can find a gluten-full version of this recipe here. I found these donuts to be much lighter in color than those made with regular flour, and they took more time to cook as well. Don’t aim for the deep golden brown you might with regular cake donuts. Go for a lighter golden color.
Gluten-Free Cake Donuts with Coffee Glaze & Maple Icing
Adapted from: Top Pot Hand-Forged Doughnuts: Secrets & Recipes for the Home Baker
Ingredients:
Donuts
3 cups all-purpose gluten-free flour
2-1/4 teaspoons baking powder
1-1/2 teaspoons xantham gum
1-1/2 teaspoons salt
1 teaspoon ground nutmeg
3/4 cup granulated sugar
3 tablespoons shortening
3 large egg yolks
1-1/2 cups sour cream
A lot of vegetable oil (at least 48 ounces, probably more)
Coffee Glaze (for full batch of donuts):
1/2 cup boiling water + 1/2 teaspoon instant espresso, cooled
1/2 teaspoon instant espresso
3 cups powdered sugar
Maple Icing (for full batch of donuts):
1-1/2 cups powdered sugar
6 tablespoons maple syrup
3/4 teaspoon maple extract
Big pinch salt
1-1/2 tablespoons hot water
Directions:
Make the dough: Place the first 5 ingredients (flour through nutmeg) in a large bowl and whisk to combine. Set aside.
Place the sugar and shortening in the bowl of a stand mixer. Using the paddle attachment, beat on low until crumbly, about 1 minute. Add the egg yolks and beat on medium speed, stopping to scrape the bowl once, until mixture is well-combined and lemon-colored, about 90 seconds. On low speed, gradually add a third of the flour mixture to the mixer bowl until incorporated. Scrape the sides and bottom of the bowl, then add half the sour cream and mix until combined. Repeat with another third of the flour, then add the remaining sour cream. Scrape the bowl. Add the rest of the flour and mix on low until ingredients are fully combined, and dough is very thick and sticky.
Place a large piece of parchment paper on the countertop. Scoop the dough out of the bowl onto the parchment, and cover with an additional piece of parchment. Using your hand, gently flatten the dough. Then, use a rolling pin to roll the dough out to 1/2” thickness. Place the dough in parchment in the refrigerator, and let chill for 60 minutes or until the dough does not stick when parchment is peeled away from it (this dough was so sticky it required a full hour of chill time. Don’t rush it).
Prepare the donut making and topping stations: Line a baking sheet with paper towels, and set next to your stovetop. Dust another rimmed baking sheet with gluten-free flour, and place a few tablespoons of gluten-free flour in a small bowl next to your donut cutters. If using coffee glaze, make sure coffee has cooled. Place powdered sugar in a medium bowl, and add 6 tablespoons of the coffee. Stir together until the consistency of thinnish glue, adding the additional 2 tablespoons of coffee if needed. Stir in remaining 1/2 teaspoon instant espresso. If using maple icing, hang tight. We’ll get back to this. For now, set out a medium bowl for it. Place a cooling rack on a large rimmed baking sheet (or on top of a piece of parchment or wax paper) on the counter next to your topping bowl.
Begin heating the oil: About 10 minutes prior to cutting, place at least 2” of vegetable oil in a large, heavy pot outfitted with a candy thermometer. Heat over medium, and keep an eye on it. Once it reaches 350 degrees, you’re ready to fry.
Cut the dough: Meanwhile, when the top piece of parchment can be peeled away from dough without significant sticking, remove it entirely from the dough and set aside. Leave remaining dough on bottom piece of parchment, and place on counter. Dip a 3” cutter into flour, cut one donut, then cut a hole in the center with the 1” cutter. Remove the donut to the floured baking sheet, and set the donut hole aside. Repeat this process until you’ve cut as many donuts as possible. Dust parchment paper on counter with flour, gently squeeze the donut holes and scraps together, place dough on floured parchment, and cover with other sheet of parchment. Very gently, roll out dough to 1/2” thickness. Repeat cutting and rolling process until you have 14 donuts (and perhaps 1 or 2 donut holes).
Fry the donuts: Once oil has reached 350 degrees, use a skimmer to gently slip one donut at a time into the pot, only adding as many donuts as you can without overcrowding the pan. Cook for 75 seconds, then flip donuts over using skimmer. Cook for an additional 75 seconds, until both sides are a light golden brown color (about 60 seconds per side for donut holes). One at a time, remove the donuts with the skimmer and place on the paper towel-lined pan. Repeat frying with the remaining donuts, allowing the oil to return to 350 degrees before adding more.
Top the donuts: After removing donuts from oil, allow them to cool just until they are no longer too hot to touch (just a few minutes).
If using coffee glaze, immediately dunk in the glaze once cool enough to touch, turning over to coat thoroughly; a spoon is helpful here to keep your fingers (relatively) mess free. Place on cooling rack and allow glaze to set, about 20 minutes.
If using maple icing, allow donuts to cool at least 30 minutes before topping. Meanwhile, place powdered sugar in a medium bowl. Add maple syrup and maple extract, and stir together with a rubber spatula until smooth and pourable. If your maple syrup is cold from being stored in the fridge or your mixture is just too thick, add in hot water half a tablespoon at a time until a pourable consistency. Once the whole batch of donuts are just slightly warm to the touch, dunk the top half of each donut in the maple icing. Return to the cooling rack and allow icing to set before eating, about 20 minutes. Yield: about 14 donuts and just a donut hole or two.

1. It begins with the good stuff: sugar and shortening. Mix together on low until crumbly.

2. I forgot to take a photo once the eggs were mixed in. Let this serve as a very small guide to the lemon color you are aiming for, and a reminder that I am not above putting ugly photos on the internet as part of my recovery from perfectionism.

3. Once fully mixed, the dough is going to be super duper thick and sticky. It'll be a bit difficult to get it off the mixer paddle. A rubber scraper is the tool you want!

4. The dough is done chilling when the stick-age to the parchment paper is fairly minimal.

5. Cut a donut, transfer a donut. Repeat.
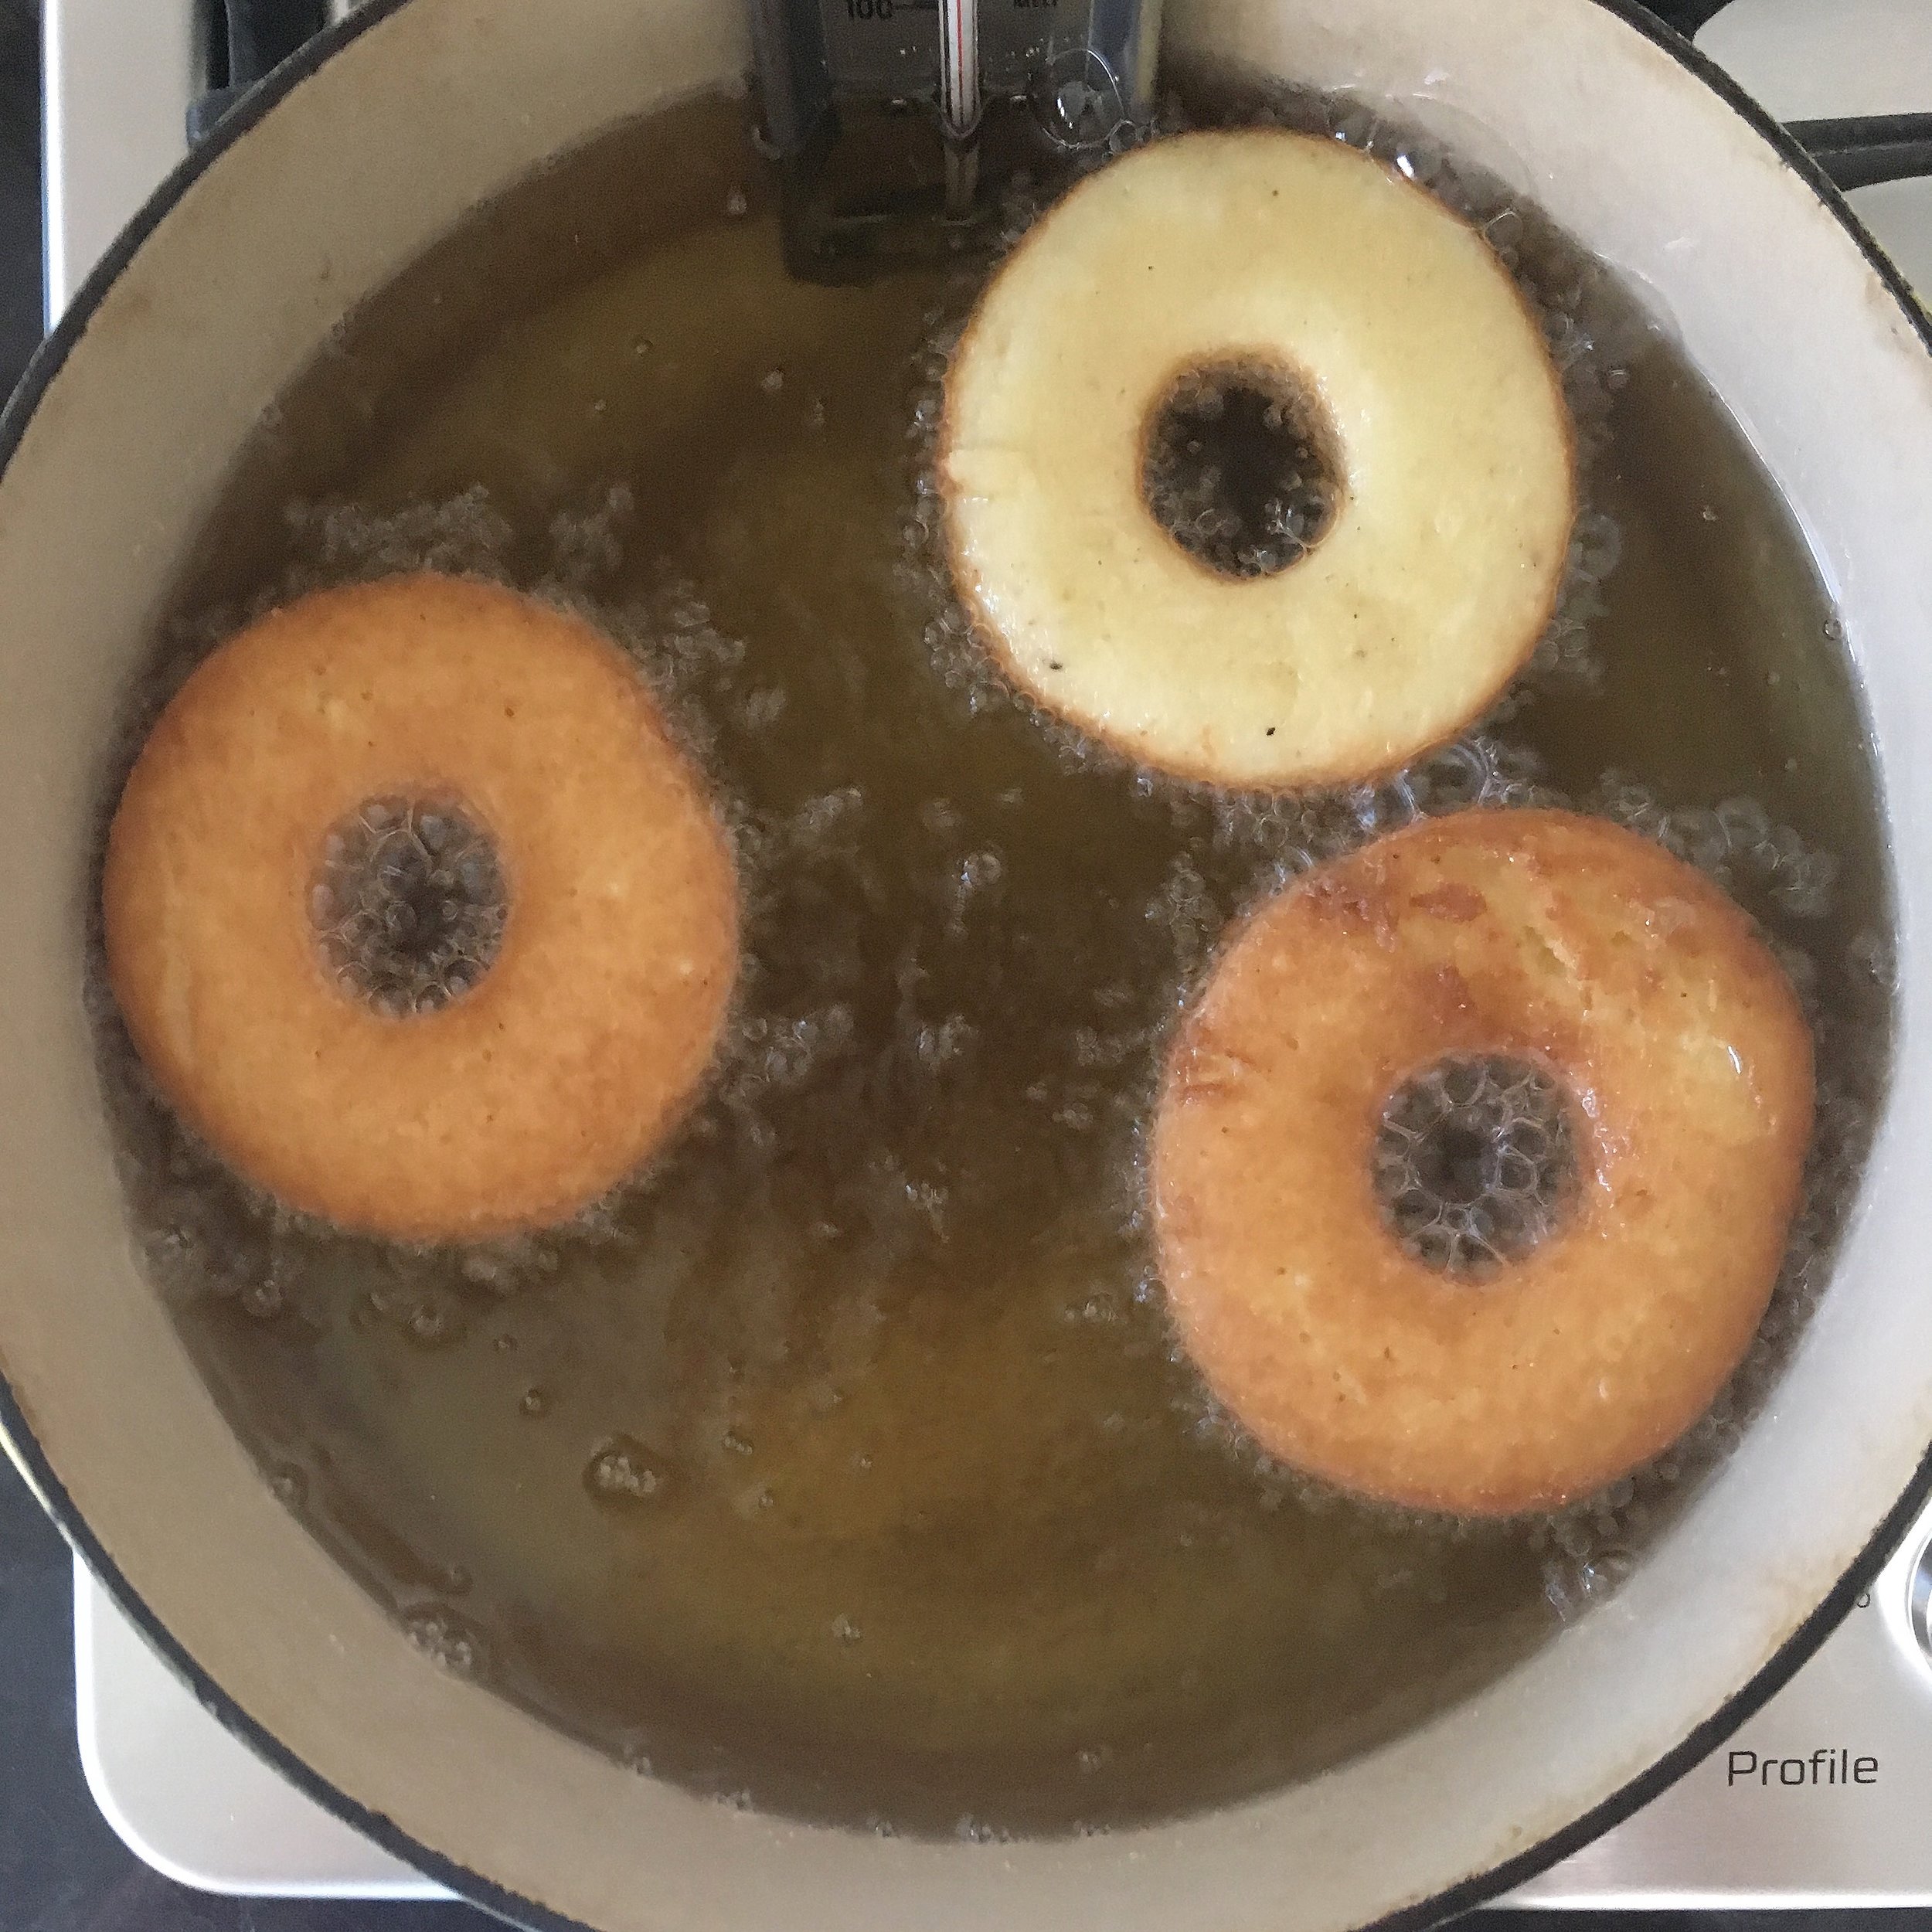
6. These donuts will be fairly light in color to begin with, and still fairly light once fried. The donut at top right here is waiting for its flip.

7. For the coffee glaze, adding additional instant espresso once the coffee and sugar are mixed gives it a pretty, speckly look. Plus the tiny bits of undissolved espresso give you little bursts of coffee flavor.

8. For the maple icing, you want it to be substantially thicker than a glaze but still pourable. Making it right before topping the cooled donuts means it stays a lovely, slightly drippy consistency that will set up nicely on the top of your donuts.

9. Ready to dig in! I already had: there just might be a few donuts (and holes!) missing from the batch here.